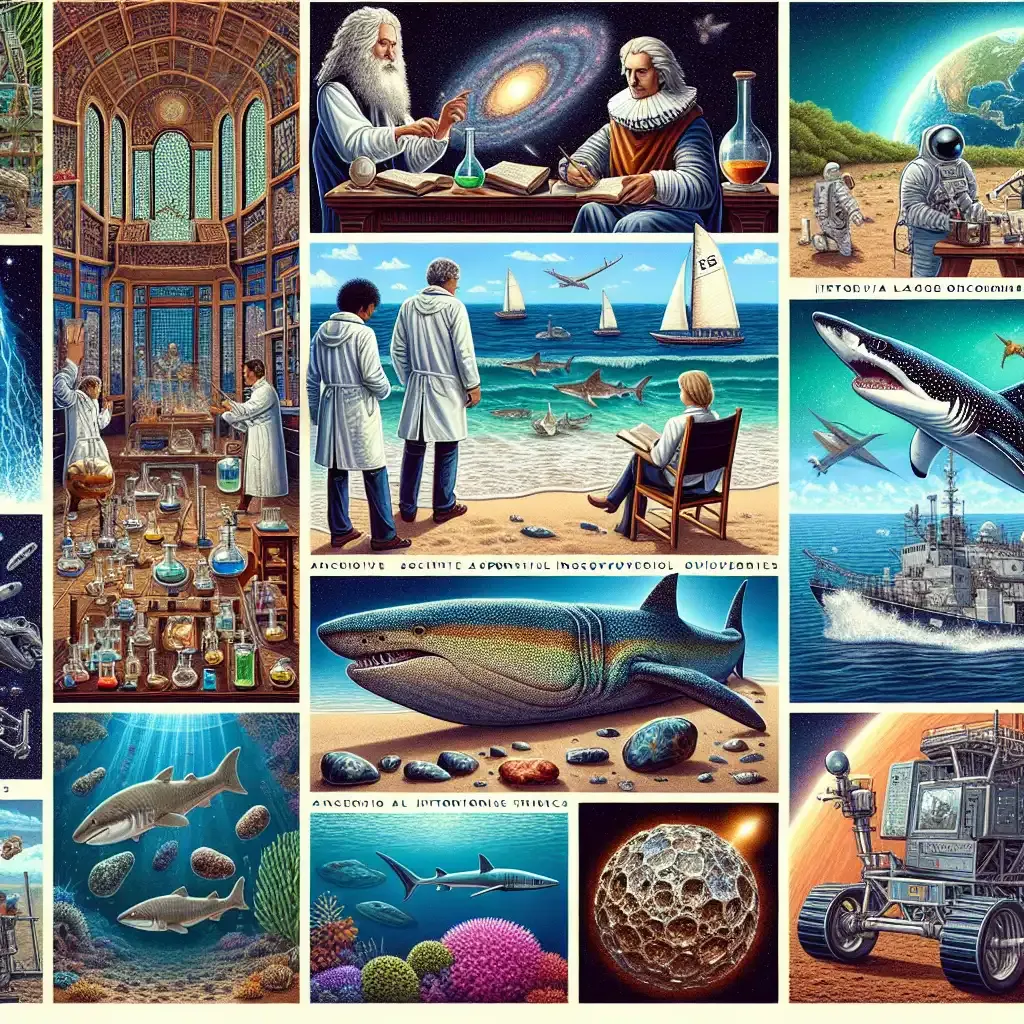
New Discoveries in Alchemy, Space, and Marine Science Unveiled
Unveiling the Wonders of Science: From Alchemy to Space Exploration The scientific process is deeply rooted in human history, driven by our innate curiosity to…
 Trend
Trend Unveiling the Wonders of Science: From Alchemy to Space Exploration The scientific process is deeply rooted in human history, driven by our innate curiosity to…
 Trend
Trend A Spirited Encounter: Manchester City Faces Defeat Against AC Milan in Preseason Friendly In a thrilling preseason friendly, Manchester City succumbed to a 2-3 defeat…
 Trend
Trend Dominic Smith’s Absence in Friday’s Lineup: What It Means for the Red Sox Dominic Smith, a key player for the Boston Red Sox, has been…
 Trend
Trend Exploring Data Processing and Consent: What You Need to Know In today’s digital age, data processing and consent are pivotal issues affecting how our personal…
 Trend
Trend Introduction In today’s fast-paced digital world, information has become more accessible than ever before. The internet is brimming with resources, making it a vital tool…
 Home & Garden
 Discover 19 beautiful modern rock garden ideas to elevate your outdoor space. Transform your garden with these creative and beautiful designs. Rock gardens have long…
 Trend
Trend A Clash in Miami: Buyers vs. Sellers as Trade Deadline Approaches As the Major League Baseball (MLB) trade deadline approaches, anticipation and tension fill the…
 Trend
Trend A Memorable Journey: Langston Galloway’s Experience with USA Basketball The journey of former NBA guard Langston Galloway with USA Basketball’s Olympic team reaches a significant…
 Trend
Trend Madonna’s Potential Entry into the Marvel Cinematic Universe as a Director: A Detailed Exploration Madonna, the Queen of Pop, might soon make a significant leap…
 Trend
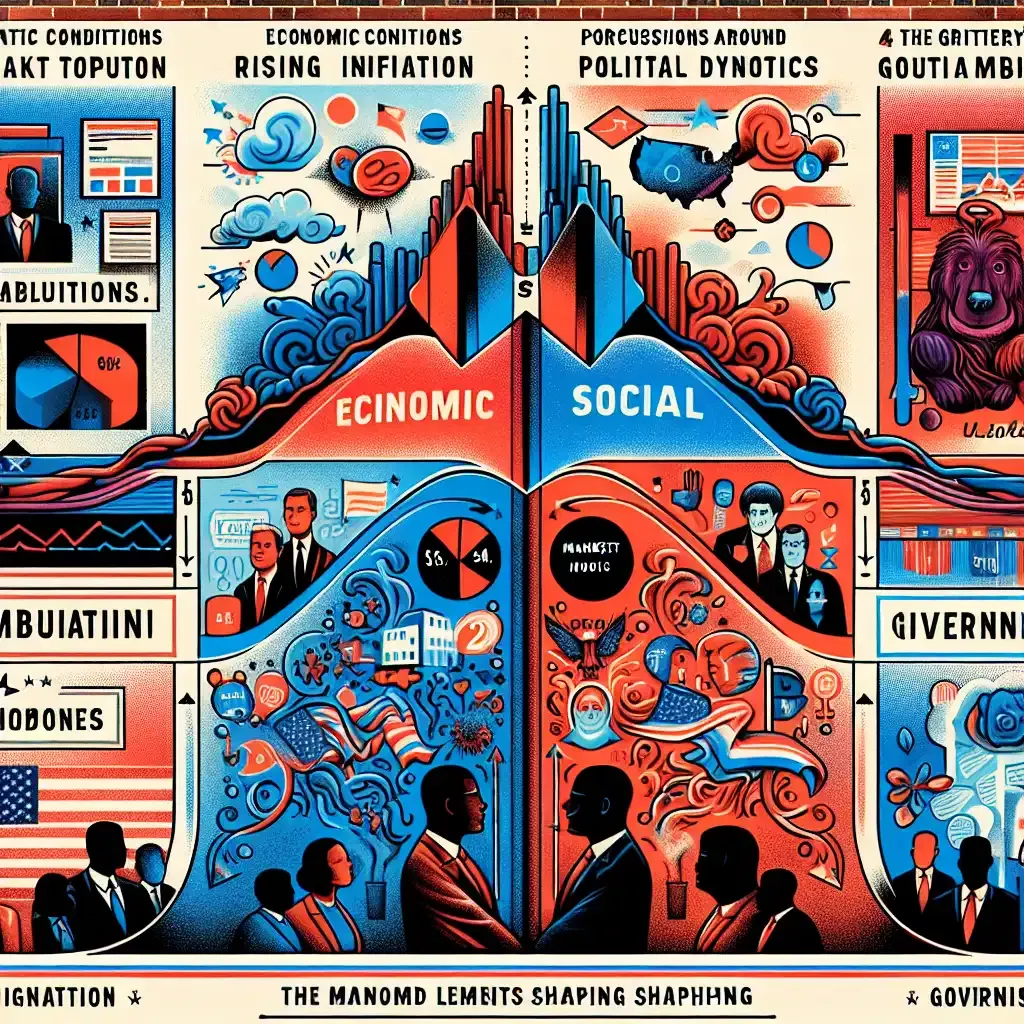
Trend Introduction The 2024 U.S. presidential election is shaping up to be a highly contentious and closely watched event. One of the most intriguing aspects of…
