LAFC vs Real Salt Lake: Key MLS Showdown with Playoff Implications
Los Angeles FC and Real Salt Lake Look for Redemption in MLS Showdown Los Angeles FC (LAFC) and Real Salt Lake are set to clash…
 Trend
Trend Los Angeles FC and Real Salt Lake Look for Redemption in MLS Showdown Los Angeles FC (LAFC) and Real Salt Lake are set to clash…
 Trend
Trend The NBA Summer League: A Glimpse into the Future of Basketball The NBA Summer League is one of the most anticipated basketball events, providing a…
 Home & Garden
 Learn how to harvest half a weed plant effectively. Discover the best techniques, materials needed, and tips to ensure your remaining plant thrives. Harvesting cannabis…
 Trend
Trend Introduction In today’s digital age, online shopping has revolutionized the way we purchase goods and services. Among the giants in this industry, Amazon stands out…
 Home & Garden
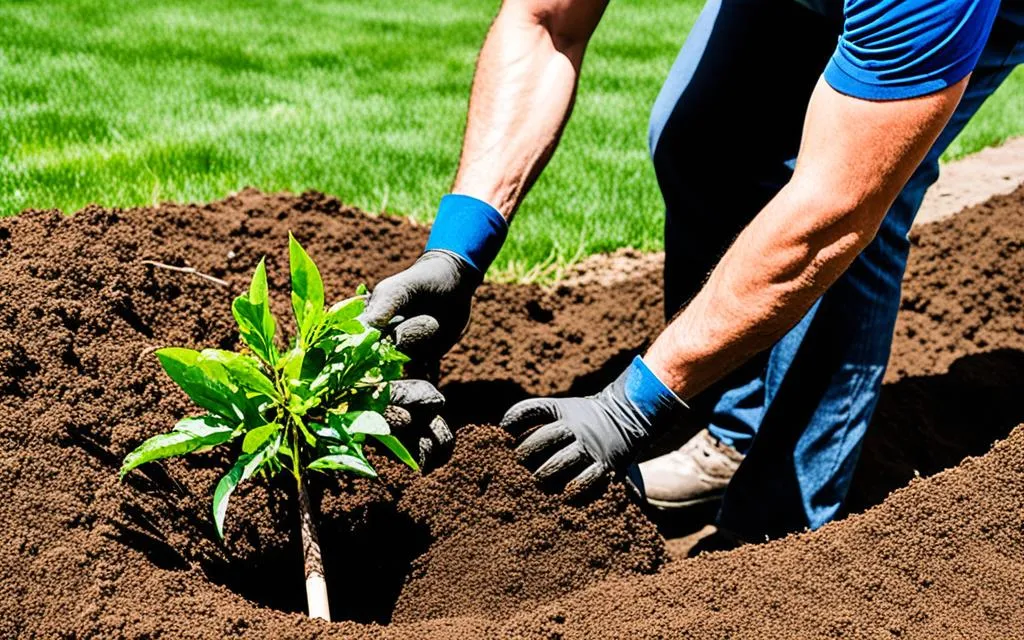
 Discover our step-by-step guide on how to plant shrubs for a beautiful garden. Learn soil preparation, digging techniques, and aftercare tips for thriving plants.
 Home & Garden
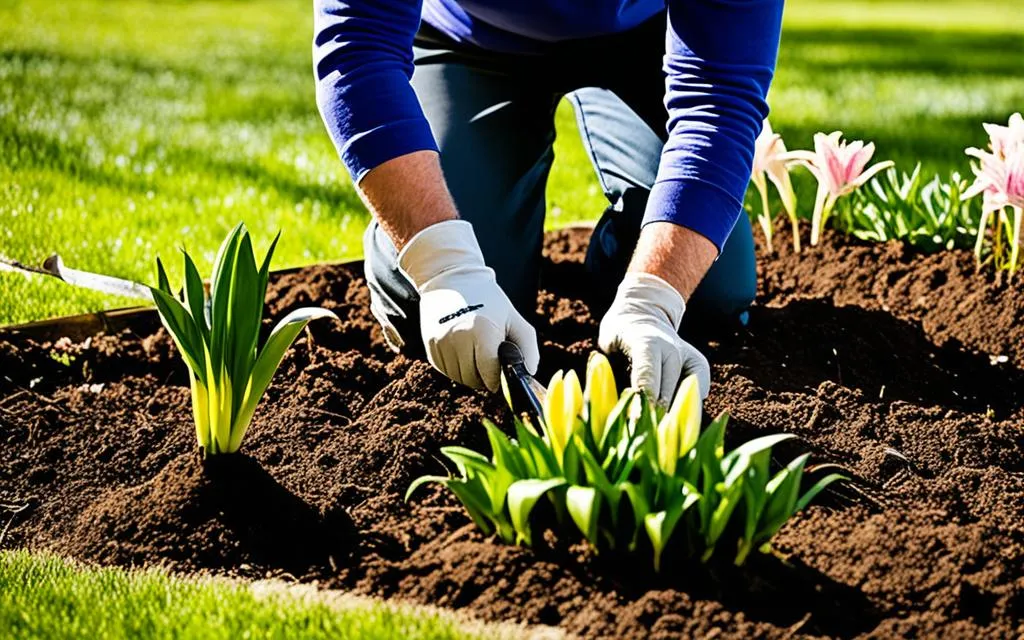
 Discover our easy guide on how to plant lily bulbs and transform your garden. Learn the best techniques, timing, and care tips for stunning blooms.
 Trend
Trend Yahoo Sports AM: Your Ultimate Daily Sports Update Staying informed about the latest developments in the sports world can often feel like a full-time job….
 Home & Garden
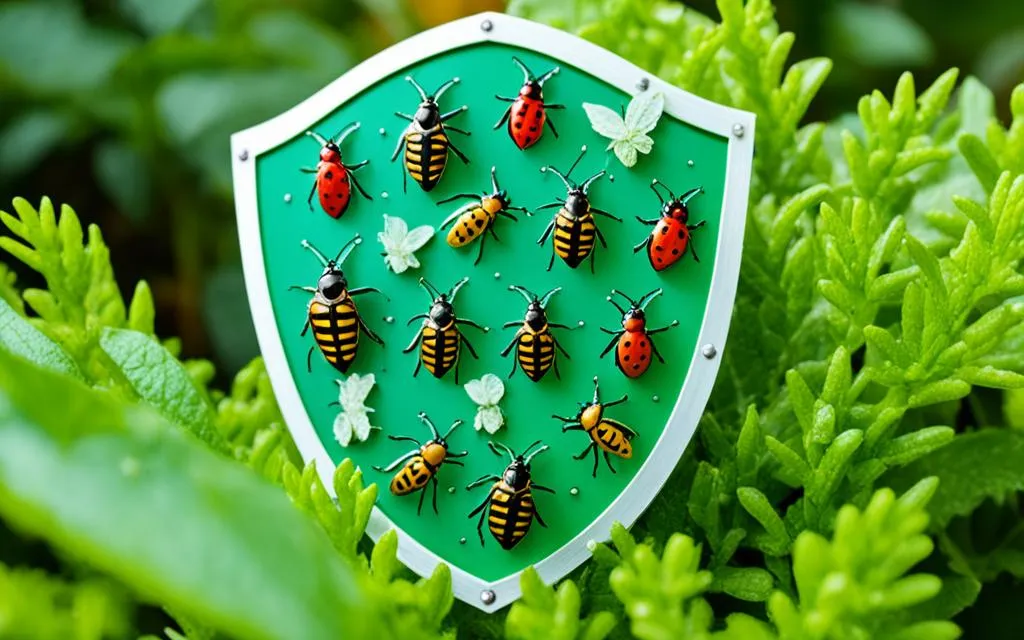
 Discover effective methods to keep bugs off plants and protect your garden. We share natural and chemical solutions to ensure your plants thrive pest-free.
 Home & Garden
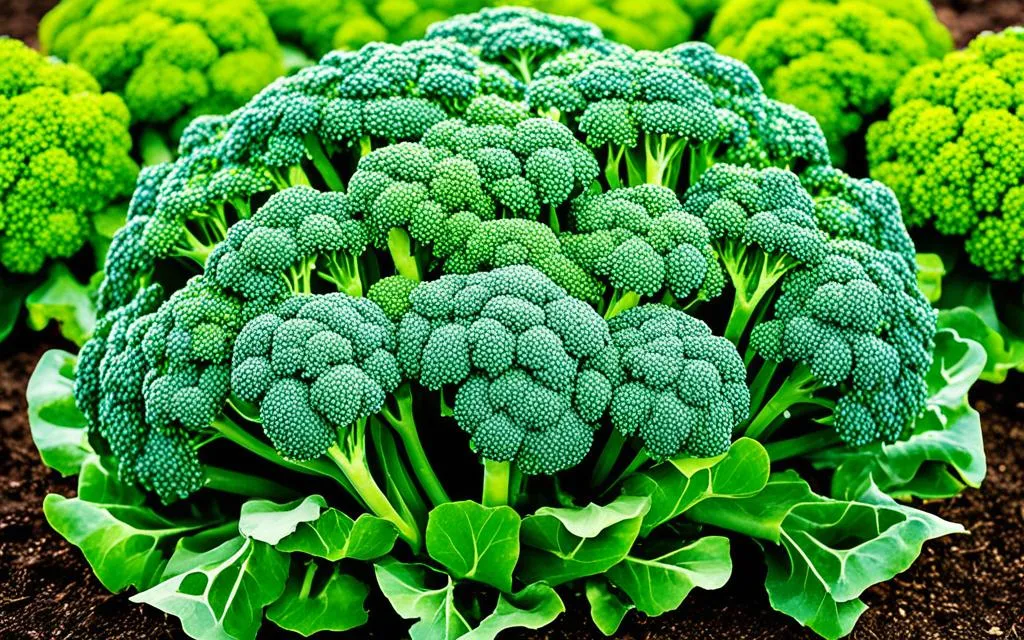
 Learn the ideal spacing for planting broccoli to ensure a bountiful harvest. We’ll guide you on how far apart to plant broccoli for optimal growth and yield.
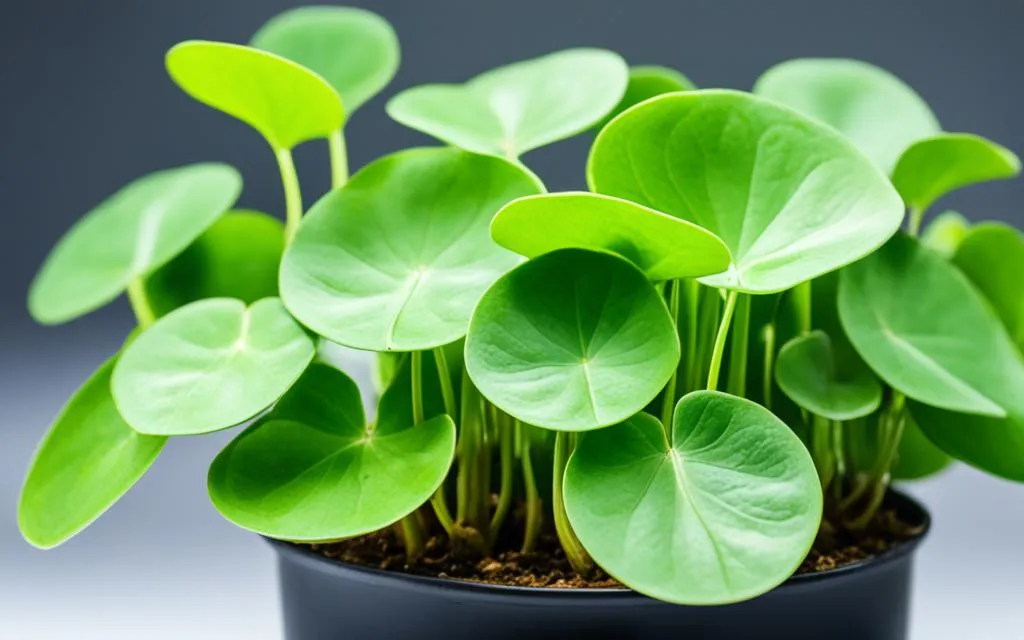 Home & Garden
 Learn how to propagate Chinese money plant with our easy guide. We’ll show you simple methods to multiply your Pilea peperomioides and grow a lush collection.
