Everyone should travel for their favorite foods
Dolor sit amet, consectetur adipiscing elit. Odio ac neque fermentum morbi. Aenean lectus eu, arcu, turpis. In massa eget sagittis, aliquet maecenas ac. Sed leo…
 Trend
Trend Dolor sit amet, consectetur adipiscing elit. Odio ac neque fermentum morbi. Aenean lectus eu, arcu, turpis. In massa eget sagittis, aliquet maecenas ac. Sed leo…
 Trend
Trend Dolor sit amet, consectetur adipiscing elit. Odio ac neque fermentum morbi. Aenean lectus eu, arcu, turpis. In massa eget sagittis, aliquet maecenas ac. Sed leo…
 Trend
Trend Dolor sit amet, consectetur adipiscing elit. Odio ac neque fermentum morbi. Aenean lectus eu, arcu, turpis. In massa eget sagittis, aliquet maecenas ac. Sed leo…
 Trend
Trend Dolor sit amet, consectetur adipiscing elit. Odio ac neque fermentum morbi. Aenean lectus eu, arcu, turpis. In massa eget sagittis, aliquet maecenas ac. Sed leo…
 Trend
Trend Dolor sit amet, consectetur adipiscing elit. Odio ac neque fermentum morbi. Aenean lectus eu, arcu, turpis. In massa eget sagittis, aliquet maecenas ac. Sed leo…
 Trend
Trend Dolor sit amet, consectetur adipiscing elit. Odio ac neque fermentum morbi. Aenean lectus eu, arcu, turpis. In massa eget sagittis, aliquet maecenas ac. Sed leo…
 Trend
Trend Dolor sit amet, consectetur adipiscing elit. Odio ac neque fermentum morbi. Aenean lectus eu, arcu, turpis. In massa eget sagittis, aliquet maecenas ac. Sed leo…
 Trend
Trend Dolor sit amet, consectetur adipiscing elit. Odio ac neque fermentum morbi. Aenean lectus eu, arcu, turpis. In massa eget sagittis, aliquet maecenas ac. Sed leo…
 Trend
Trend Dolor sit amet, consectetur adipiscing elit. Odio ac neque fermentum morbi. Aenean lectus eu, arcu, turpis. In massa eget sagittis, aliquet maecenas ac. Sed leo…
 Trend
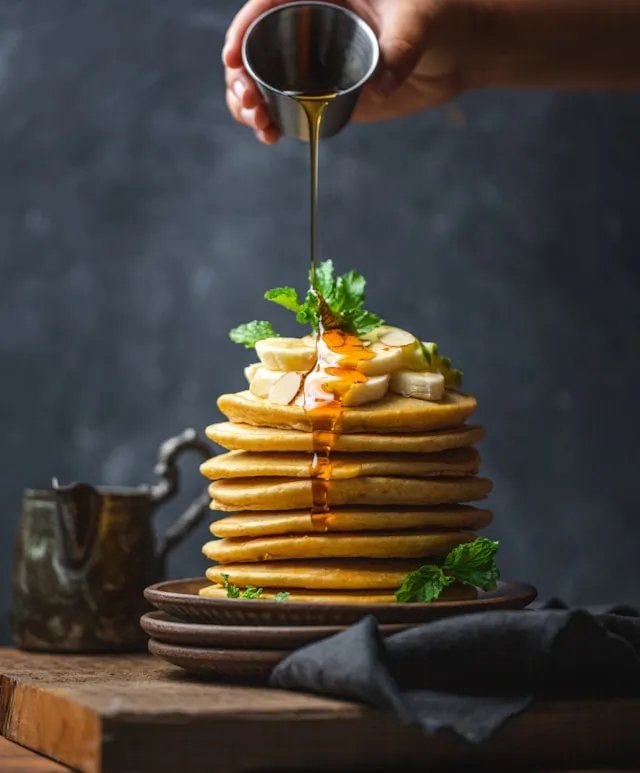
Trend Sweet Delight: Drizzling honey over perfect pancakes Sapien ante nisi, pellentesque magna aliquet imperdiet donec in eros. Fermentum, lacus ullamcorper at magna placerat dolor. Suspendisse…
