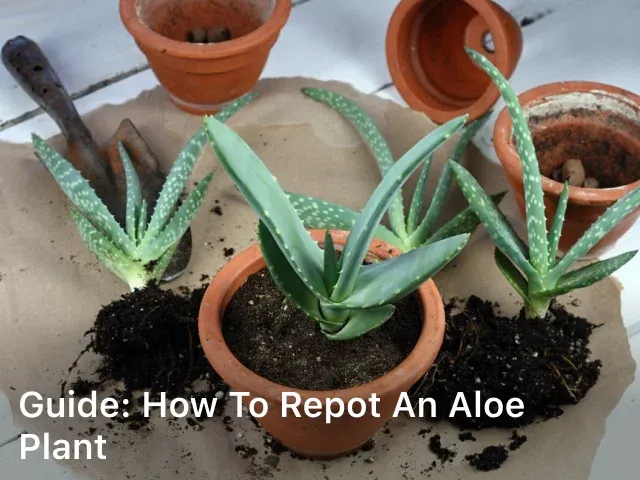
Guide: How to Repot an Aloe Plant
Guide: How to Repot an Aloe Plant – Learn how to repot an aloe plant successfully with expert tips and step-by-step instructions. Discover the secrets…
 Home & Garden
 Guide: How to Repot an Aloe Plant – Learn how to repot an aloe plant successfully with expert tips and step-by-step instructions. Discover the secrets…
 Home & Garden
 How to Add Calcium to Tomato Plants? – Discover the secrets to boosting your tomato plant’s health! Learn how to add calcium to tomato plants…
 Environment
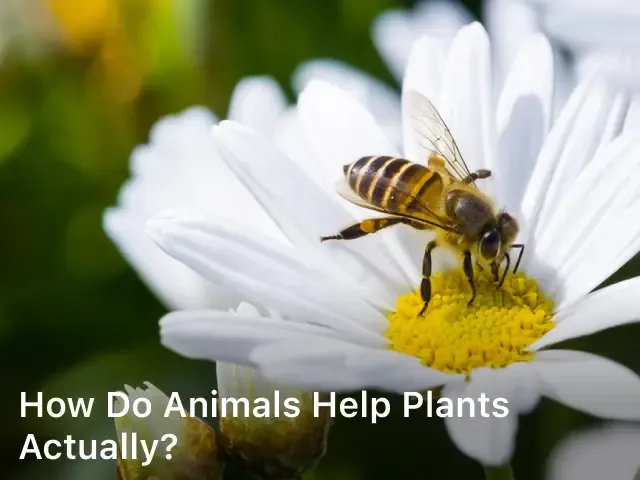
 How Do Animals Help Plants Actually? – Discover the fascinating ways in which animals contribute to the growth and well-being of plants. Explore the symbiotic…
 Home & Garden
 What Helps Plants Grow Faster? – Discover the secrets of accelerating plant growth in this informative guide. Learn about the factors that promote plant growth…
 Environment
 How Plants Can Clean up the Mess Human Make? Discover how plants can clean up the mess humans make, playing a vital role in environmental…
 Environment
 Is Fire a Natural Disaster or Not? – Delve into our discussion as we explore the question, “Is fire a natural disaster?” Learn about wildfires,…
 Ecotourism
 envirocarecentral.com. Overlook Mountain Hiking is The Best Place to Hike – Explore breathtaking vistas, abundant wildlife, and historical sites. Plan your adventure today! Are you…
 Home & Garden
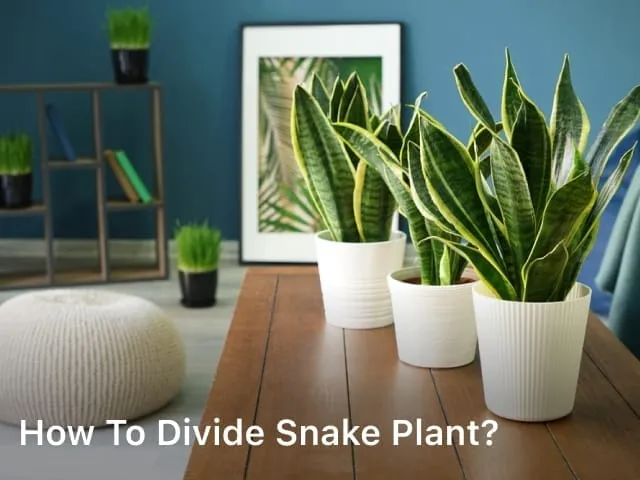
 envirocarecentral.com. How to Divide Snake Plant? – Are you wondering how to divide snake plant? In this detailed guide, we’ll walk you through the steps…
 Home & Garden
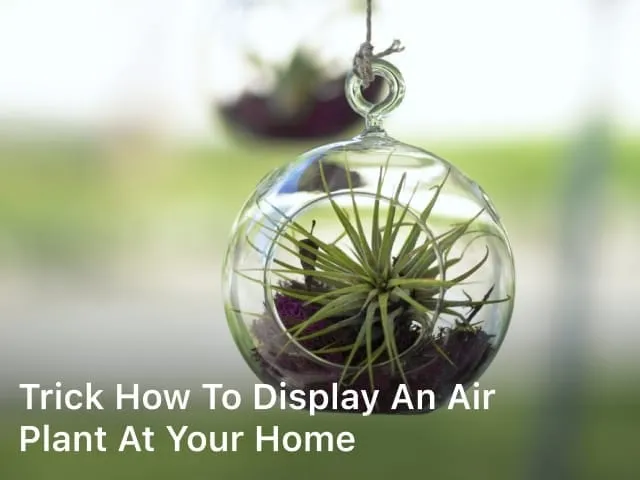
 envirocarecentral.com. Trick How to Display an Air Plant at Your Home – Discover the best tricks to beautifully display air plants in your home. Learn…
 Home & Garden
 envirocarecentral.com.Tutorial How to Plant Squash Seeds – Learn the art of planting squash seeds with expert tips and FAQs. Grow healthy squash in your garden…
