Easy Steps to Build Your Own Garden Shed from Scratch

Building a garden shed from scratch can be a rewarding DIY project that adds both functionality and charm to your outdoor space. Whether you’re looking to store gardening tools, create a small workshop, or even turn it into a cozy retreat, constructing your own garden shed offers flexibility, cost savings, and a sense of accomplishment. With the right steps to build a garden shed from scratch, even beginners can complete the project successfully. This article provides a comprehensive guide to help you navigate every stage of the process, from planning to completion.
Section 1: Planning and Preparation
Before diving into construction, it’s essential to plan thoroughly to avoid costly mistakes and ensure a smooth build.
Choosing the Right Location
Selecting the correct location for your garden shed is the first critical step. Consider factors such as sunlight exposure, drainage, and proximity to your home or existing structures. A flat, well-drained area is ideal to prevent water accumulation. Avoid placing the shed under large trees, as falling branches or roots can damage it over time. Also, check local regulations to ensure your project complies with zoning laws or homeowners’ association rules.
Designing Your Shed
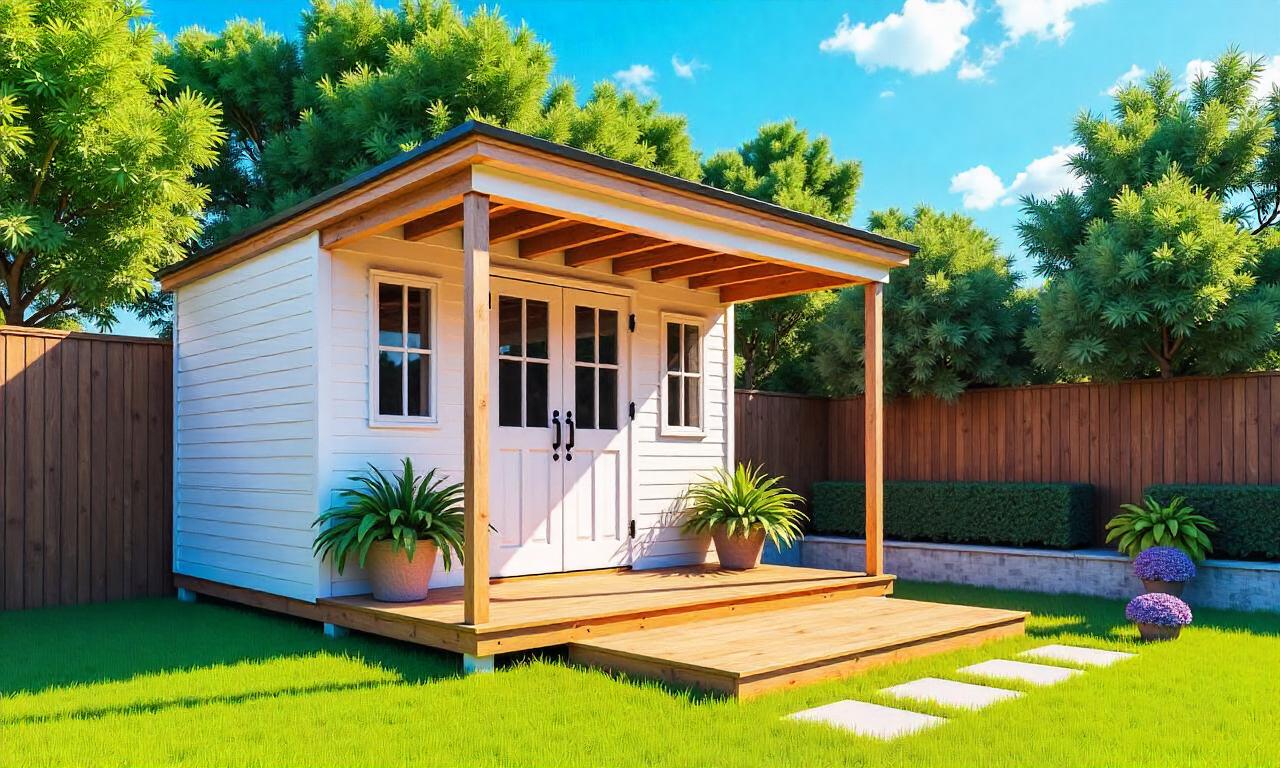
Once you’ve settled on a location, design your garden shed based on your needs. Sketch a simple blueprint, determining the size, shape, and materials. A standard rectangular design is practical for most users, but you can also opt for a more unique style if desired. Decide on the number of doors, windows, and storage solutions. Make sure to measure twice and cut once to ensure accuracy.
Gathering Materials and Tools
Having the right tools and materials is crucial. For a basic garden shed, you’ll need lumber (such as pressure-treated wood for durability), screws, nails, a roof material (like shingles or metal), a foundation system (such as concrete piers or a slab), and hardware (like hinges, locks, and brackets). Don’t forget essential tools such as a saw, drill, measuring tape, and level. A checklist can help you stay organized and avoid missing any supplies.
Section 2: Building the Foundation
A strong foundation ensures your garden shed remains stable and protected from the elements.
Preparing the Site
Clear the chosen area of debris, vegetation, and loose soil. Mark the shed’s footprint on the ground using stakes and string to guide your layout. Dig the foundation to a depth of about 6–8 inches, depending on the type of ground you’re working with. If the soil is unstable, consider using gravel or a pre-made foundation kit to improve drainage and support.
Installing the Foundation
For a simple foundation, you can use concrete piers or a poured concrete slab. Concrete piers are easier to install and require less labor, while a poured slab offers a more permanent solution. If using piers, dig holes for each corner and the center of the shed, then insert the piers and pour concrete around them. Allow the concrete to cure for at least 24–48 hours before proceeding. For a slab, use a level to ensure the ground is even and pour the concrete mixture into the form.
Adding a Base or Floor
If your garden shed will have a floor, install a base using pressure-treated wood or a concrete pad. For a wooden base, lay the boards in a grid pattern, securing them with screws or nails. Ensure the base is level and extends slightly beyond the shed’s footprint to allow for proper drainage. If the shed is small, a base may not be necessary, but it can help prevent rot and make the space more usable.
Section 3: Constructing the Frame and Roof
With the foundation in place, the next step is to build the frame and roof of your garden shed.
Building the Frame
Start by assembling the shed frame using the lumber you’ve prepared. Cut the wood to the required lengths and construct the walls, floor, and roof structure. Use a level to ensure all components are straight. Secure the corners with corner brackets and fasten the pieces together with screws or nails. For added stability, install vertical studs between the floor and ceiling to create a sturdy skeleton.
Creating the Roof Structure
The roof is a key part of the garden shed design. A simple gable roof is easy to build and provides good ventilation. Cut the roof boards or trusses to fit the shed’s dimensions and attach them to the frame. Install roof flashing around the base of the roof to prevent water leakage. If you’re using shingles, ensure they’re properly aligned and nailed in place. For a more modern look, consider a metal roof, which is durable and low-maintenance.
Adding Doors and Windows
Install doors and windows according to your design. For the door, cut a hole in one of the walls and attach a frame, then fit the door panel. Make sure the door is weatherproof by adding a weatherstripping seal. For windows, measure and cut openings in the walls, then install the window frames and glass. Use hinges and handles for easy access. This step requires precision to ensure proper alignment and functionality.
Section 4: Finishing Touches and Final Assembly
Once the frame and roof are complete, it’s time to add the final touches and finish your garden shed.
Installing the Siding and Trim
Siding and trim enhance the garden shed’s durability and aesthetics. Choose between wood, vinyl, or metal siding based on your preference and budget. Attach the siding using nails or screws, starting from the bottom and working upward. Add trim around the edges to give the shed a polished look. For a more decorative appearance, use different materials for the walls and roof to create visual interest.
Adding the Roofing Material
Cover the roof with the chosen material, whether shingles, metal, or other options. Start by installing the underlayment to protect against moisture. Then, place the roofing material in overlapping rows, securing it with nails or screws. Ensure the roof is sloped to allow water runoff and prevent leaks. Check for gaps and seal them with caulk or weatherproofing tape.
Finalizing the Interior and Exterior
Complete the interior by installing flooring, wall panels, and any additional features like shelves or cabinets. For the exterior, apply a coat of paint or stain to protect the wood from weathering. Choose a color that complements your garden’s design. Add trim and hardware to the exterior, such as a door handle or window sills. This step ensures your garden shed is both functional and visually appealing.
Section 5: Tips for Success and Maintenance
Following these steps to build a garden shed from scratch can help you avoid common pitfalls and ensure a long-lasting structure.
Choosing the Right Materials
Select high-quality materials to withstand the elements. Pressure-treated wood is a popular choice due to its resistance to rot and insects. Metal or PVC materials can also be used for a more durable or low-maintenance option. Always read the manufacturer’s instructions for proper installation and care.
Good ventilation is essential to prevent mold and mildew. Install roof vents or windows to allow airflow. If your garden shed is used for storing items like tools or garden equipment, consider adding a small ventilation fan for extra air circulation.
Regular Maintenance
Once your garden shed is built, regular maintenance will keep it in excellent condition. Inspect the foundation for cracks or settling, and reapply sealant or paint as needed. Clean the roof regularly to remove debris and check for leaks. These simple steps to build a garden shed from scratch also apply to ongoing care.
Section 6: Cost and Time Estimation
Understanding the budget and time required can help you plan effectively.
Estimating the Cost
The cost of building a garden shed depends on the size, materials, and design. For a basic 8×8-foot shed, expect to spend between $1,000 and $3,000. Lumber accounts for the largest portion of the budget, so choose wisely. Adding features like electricity or plumbing will increase the cost, but they’re optional.
Time Investment
The time needed to complete your garden shed varies. A simple structure can take 1–2 days if you have the tools and experience. More complex designs may require 3–5 days. Break down the tasks into manageable steps and allocate time for each. For example, preparing the site might take a day, while assembling the frame could take another.
Saving Money Tips
To reduce costs, consider using recycled or second-hand materials. Buy in bulk when possible, and look for sales on lumber or hardware. If you’re unsure about the construction process, watch tutorials or consult with a professional for guidance. These cost-saving strategies make the steps to build a garden shed from scratch more accessible to all budgets.
Section 7: Customization Ideas
Your garden shed can be tailored to fit your specific needs and style.
Adding Storage Solutions
Incorporate storage options such as built-in shelves, cabinets, or a tool rack. Use the interior space to maximize organization. For example, install pegboard walls or create drawers for small items. Custom shelves can be designed to fit your equipment, making your garden shed more efficient.
Designing a Multi-Functional Space
Think creatively about how to use your garden shed. It can double as a workshop, guest room, or home office. Add insulation for temperature control, and install lighting or a small window for natural light. Consider electrical wiring if you plan to use tools or appliances regularly. These customizations turn your garden shed into a versatile space.
Enhancing Aesthetics
Make your garden shed blend seamlessly with your outdoor environment. Choose a color scheme that matches your home’s exterior, and add decorative elements like a garden gate or flower beds nearby. Use landscaping to surround the shed, creating a cohesive look. These details elevate the final appearance of your garden shed.
Section 8: Safety and Best Practices
Safety is paramount during the construction of your garden shed.
Wearing Protective Gear
Always wear safety equipment such as gloves, safety goggles, and steel-toed boots. Protect yourself from splinters, cuts, and falling objects during the building process. Keep the work area clean to prevent tripping hazards.
Using Proper Techniques
Follow best practices to ensure structural integrity. Use a level for all measurements and avoid uneven surfaces. Secure each piece firmly with screws or nails, and double-check your work as you progress. Take breaks to avoid fatigue, especially when lifting heavy materials.
Weather Considerations
Build during dry weather to prevent issues with wet materials. If rain is expected, cover the structure with a tarp to protect it. Once the shed is complete, ensure it’s properly sealed to withstand future weather conditions. These steps help your garden shed endure the elements.
Section 9: Common Challenges and Solutions
Even with careful planning, challenges may arise.
Dealing with Uneven Ground
If the ground is uneven, use a leveling compound or adjust the foundation. For a more temporary fix, add shims under the piers to even out the structure. This ensures stability and prevents future settling.
Troubleshooting Materials
If you encounter issues with materials, such as warped wood or defective shingles, replace them immediately. Check for quality before purchasing, and store materials in a dry place to avoid damage. These small adjustments can save time and effort later.
Handling Weather Delays
If construction is interrupted by rain or wind, secure the shed partially to prevent damage. Cover the open sections with tarps and ensure the foundation is protected. Resume work as soon as conditions improve. This flexibility helps you stay on track with your garden shed project.
Section 10: Conclusion
Building a garden shed from scratch is an achievable DIY project that offers long-term benefits. By following the steps to build a garden shed from scratch outlined in this article, you can create a functional and attractive outdoor space. From planning and preparation to constructing the frame and adding final touches, each step contributes to the success of your project. With patience and attention to detail, you’ll have a garden shed that meets your needs and enhances your home’s value. Whether you’re a seasoned DIYer or a beginner, the steps to build a garden shed from scratch make it easier than ever to bring your vision to life.
