How to Build a Garden Shed from Scratch: Simple Steps
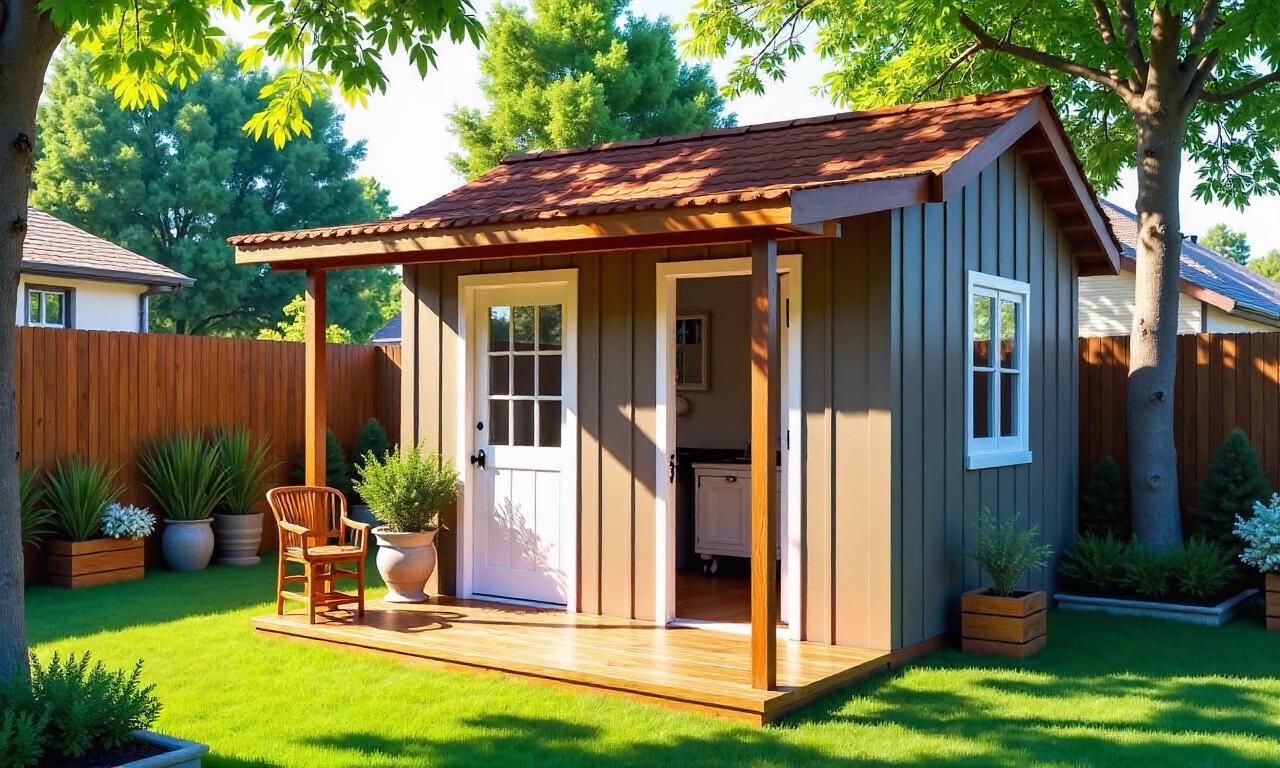
Building a garden shed from scratch can be a rewarding DIY project that adds both practicality and charm to your outdoor space. Whether you’re looking for extra storage, a place to keep gardening tools, or even a small workshop, constructing your own shed allows you to customize it to suit your needs. While the idea might seem intimidating at first, following the steps to build a garden shed from scratch can simplify the process and ensure a sturdy, functional structure. With careful planning, the right tools, and a clear understanding of the steps to build a garden shed from scratch, you can transform your backyard into a more organized and enjoyable area.
Before you start laying any materials, planning and designing your garden shed is crucial to avoid costly mistakes later. This phase involves determining the shed’s purpose, size, and style, as well as ensuring it meets local building regulations.
Step 1: Determine the Purpose and Size
The first step to build a garden shed from scratch is to define its purpose. Will it store seasonal items, serve as a toolshed, or even be a small outdoor living space? This decision will influence the size and layout of your shed. For example, a storage shed might only need a few square feet, while a workshop could require more space. Measure the area where you plan to build the shed and consider factors like access, drainage, and sunlight exposure.
Step 2: Choose the Right Location
Selecting the ideal location for your shed is another essential step to build a garden shed from scratch. Avoid low-lying areas prone to flooding and ensure the ground is level. If possible, place the shed near a utility source like electricity or water, and consider proximity to your home for easy access. Also, check if your property has any restrictions on outdoor structures to avoid future issues.
Step 3: Create a Blueprint or Sketch
Even a simple shed requires a basic blueprint to guide your construction. Sketch the dimensions, including the foundation, walls, roof, and doors, to visualize the final structure. This sketch will also help you calculate the materials needed and ensure everything fits together correctly. For beginners, a pre-made kit or a simple square or rectangular design is often easier to manage.
Step 4: Obtain Permits and Materials
Before you begin, check with your local building department to see if a permit is required. Many areas have size or height restrictions for outdoor sheds, so this step ensures compliance. Once approved, purchase high-quality materials such as pressure-treated lumber, screws, nails, and roofing materials. Also, gather tools like a tape measure, saw, hammer, and level to make the process smoother.
Sourcing and Preparing the Materials
Once your planning and design is complete, the next step to build a garden shed from scratch is to source and prepare the necessary materials. This includes selecting the right lumber, roofing, and tools, as well as cutting and organizing them for efficient assembly.
Step 5: Select High-Quality Lumber
Choosing the right lumber is critical for the durability of your shed. Opt for pressure-treated wood to resist moisture and insects, especially if the shed will be built on the ground. For the frame, use 2x4s or 2x6s for walls and 4x4s for the corners and support posts. Ensure the wood is dry and free from warping to prevent structural issues down the line.
Step 6: Procure Roofing and Flooring Materials
The roofing materials should be weather-resistant. Asphalt shingles are a popular choice for their affordability and ease of installation. For the floor, use pressure-treated plywood or concrete slabs to create a solid base. If you’re using a wooden floor, consider adding flooring nails or screws for stability. Additionally, plywood panels or sheet metal can be used for the shed’s walls and ceiling.
Step 7: Gather Essential Tools
Having the right tools on hand will make the steps to build a garden shed from scratch much easier. A circular saw for cutting lumber, a drill for assembling components, and a level to ensure everything is straight are must-haves. Don’t forget a ladder for reaching higher areas and a hammer or mallet for securing joints. Keeping these tools organized will save time during the construction process.
Step 8: Cut and Organize Materials
Before assembly, cut the materials according to your blueprint. Measure and mark 2x4s for walls, 4x4s for posts, and roof trusses or rafters for the structure. Organize the pieces by category—walls, roof, floor, and doors—to avoid confusion during construction. This step ensures you can work efficiently and reduce errors.
Building the Foundation and Frame
A strong foundation is the key step to build a garden shed from scratch, as it provides stability and protects your structure from moisture and pests. Once the foundation is set, constructing the frame allows you to shape the shed according to your design.
Step 9: Dig the Foundation Hole
Preparing the foundation begins with digging a hole for the footings. The depth of the hole depends on your local soil conditions and the shed’s weight. Typically, a hole of about 12 inches deep and 6 inches wide is sufficient for small sheds. Fill the hole with concrete to create a solid base, and let it dry completely before proceeding.
Step 10: Install the Base and Frame
After the foundation is set, install the base by placing pressure-treated lumber or concrete blocks on top. For a raised base, use poured concrete or gravel to create a slight elevation. Once the base is ready, assemble the frame by attaching the walls and floor joists. Use screws or nails to secure the corners, and double-check that all pieces are aligned properly with a level.
Step 11: Add the Roof Structure
The roof structure is another important step to build a garden shed from scratch. If you’re using a gable roof, construct roof trusses or rafters and secure them to the walls. For a flat roof, install plywood panels and add a roofing membrane to protect against water. Ensure the roof is sloped slightly for drainage, and attach roofing materials securely to prevent leaks.
Step 12: Install the Walls and Doors
Once the frame is complete, install the walls by attaching plywood panels or sheet metal to the 2x4s. Use wood screws to fasten them in place, and add trim for a finished look. Next, install the door by creating a door frame from the 2x4s and attaching hinges and a door handle. Ensure the door opens smoothly and is weatherproof with a door sweep or weatherstripping.
Finishing Touches and Final Assembly
The final step to build a garden shed from scratch involves finishing touches that enhance the shed’s appearance and functionality. This includes adding insulation, flooring, and paint, as well as installing windows and lighting to improve usability.
Step 13: Add Insulation and Ventilation
Insulation is essential if your shed will be used year-round. Use foam board insulation or fiberglass batting to line the walls and ceiling, which helps maintain a stable internal temperature. Additionally, install vents or windows to ensure proper air circulation and prevent moisture buildup. This step makes your shed more comfortable and extends its lifespan.
Step 14: Install the Floor and Interior
Creating a solid floor is another critical step to build a garden shed from scratch. If you’re using pressure-treated plywood, lay it over the base and secure it with floor joists. For added comfort, consider adding flooring boards or tile to create a more polished look. Once the floor is in place, install shelves or storage boxes to maximize space.
Step 15: Paint and Seal the Structure
To protect your shed from the elements, paint and seal the exterior. Choose weather-resistant paint or stain to prevent rotting and peeling. Apply sealer to the roof and base to create a waterproof barrier. This step not only enhances the aesthetic appeal but also ensures your shed lasts for years.
Step 16: Add Final Features and Decor
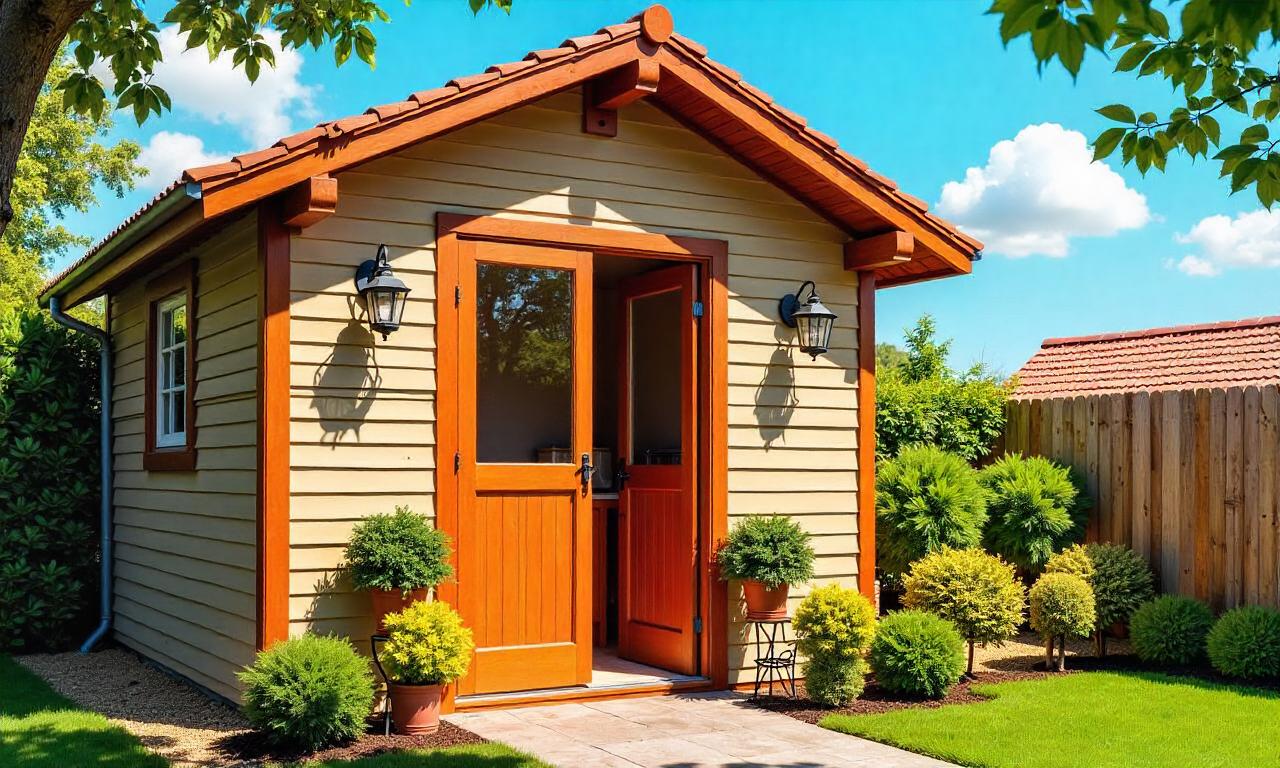
After the structure is complete, add final features to make your shed more functional. Install lighting fixtures or LED strips to improve visibility, and add windows for natural light. If desired, decorative elements like wooden accents or planters can give your shed a personalized touch. These additions make your shed a useful and attractive part of your outdoor space.
Conclusion
Building a garden shed from scratch requires careful planning, sourcing, and execution of the steps to build a garden shed from scratch. By following these simple steps, you can create a durable and functional structure that meets your needs while adding value to your property. From designing the layout to assembling the frame and adding finishing touches, each step to build a garden shed from scratch plays a role in the final outcome. With patience and attention to detail, your garden shed will be a reliable storage solution or a cozy outdoor retreat. Whether you’re a beginner or an experienced DIYer, this process ensures a successful construction project that you can take pride in.
By breaking down the steps to build a garden shed from scratch into manageable tasks, you’ll avoid feeling overwhelmed and maintain a clear focus throughout the build. Remember to measure accurately, organize your materials, and double-check your work at each stage. With these guidelines, you’ll be well on your way to completing your dream garden shed.
