How to Build a Garden Shed from Scratch: Step-by-Step Guide
Building a garden shed is a rewarding DIY project that can add both functionality and charm to your outdoor space. Whether you’re looking to store gardening tools, seasonal decorations, or even a small workshop, constructing a shed from scratch allows you to customize the design, materials, and layout to suit your needs. This article provides a comprehensive guide on the steps to build a garden shed from scratch, breaking down the process into manageable stages. By following this detailed step-by-step guide, even beginners can confidently complete their project and enjoy the benefits of a well-constructed garden shed.
Before you start building, it’s essential to plan and design your garden shed to ensure it meets your requirements and fits seamlessly into your landscape. This stage involves considering the steps to build a garden shed from scratch in terms of size, purpose, and aesthetics.
Determine the Purpose and Size
The first step to build a garden shed from scratch is to define its purpose. Are you planning to use it for storing tools, as a hobby room, or for seasonal items? This will determine the size and layout of your garden shed. For example, a small tool shed might only need a 4×6-foot space, while a larger garden shed for more storage or additional uses could be 6×8 feet or even bigger. Consider the number of items you’ll store and whether you need shelves, workbenches, or a power outlet for electrical tools. A shed designed for storage should have a sturdy floor and walls, while one intended for use as a workshop may require more insulation and better ventilation.
Choose the Right Location
Selecting the right location is a critical step to build a garden shed from scratch. Look for an area with good drainage to prevent water pooling around the foundation. Avoid planting trees or shrubs too close to the shed, as their roots can damage the structure over time. Also, check if your property has any <strong>restrictions</strong> or <strong>permits</strong> required for constructing a <strong>garden shed</strong>. Many local municipalities require sheds under a certain size to be registered, so it’s important to verify the regulations in your area. Additionally, ensure the shed is positioned away from fences or walls to allow for easy access and maintenance.
Create a Design Plan
Once you’ve decided on the size and location, it’s time to create a design plan. Sketch a rough layout of your garden shed, including the number of windows, doors, and storage compartments. You can use online tools or templates to generate a detailed plan, or even consult with a contractor for professional advice. Make sure to include measurements and materials in your design to streamline the building process. A well-thought-out design will save you time and money by avoiding costly mistakes later on.
Gathering Materials and Tools
With your design plan in place, the next step to build a garden shed from scratch is to gather the necessary materials and tools. This phase requires careful planning to ensure you have everything you need before starting the actual construction.
List of Essential Materials
Here’s a breakdown of the materials you’ll need for building a garden shed. The quantity and type may vary depending on the size and design of your shed, but the following list covers the basics:
– Wood planks or pressure-treated lumber for the frame and walls – Plywood for the floor and roof – Roofing materials such as shingles, metal sheets, or tiles – Nails, screws, and bolts for assembly – Concrete or gravel for the foundation – Tools like a hammer, saw, measuring tape, level, and drill
Pressure-treated lumber is a popular choice because it resists rot and decay, especially if your <strong>garden shed</strong> is built in a humid or rainy climate.
Selecting Tools and Equipment
Having the right tools will make the building process smoother. Essential tools include:
– A tape measure for accurate measurements – A chisel and mallet for cutting and shaping wood – A saw for cutting lumber to size – A hammer and nails for assembling components – A drill with various bit sizes for securing materials – A level to ensure everything is straight
If you're new to DIY projects, consider investing in a <strong>power drill</strong> or <strong>saw</strong> to speed up the process.
Building the Frame and Foundation
The foundation and frame form the backbone of your garden shed, so this is one of the most important steps to build a garden shed from scratch. A strong base ensures stability and durability, especially in areas with heavy rainfall or snow.
Constructing the Foundation
Start by digging a foundation for your garden shed. The foundation should be level and solid. For a small shed, a concrete slab or gravel base is typically sufficient.
– Measure and mark the area where the shed will be built. – Dig a trench around the perimeter of the shed to create a level base. – Pour concrete or lay gravel and compact it to create a stable surface.
If you’re unsure about the <strong>foundation</strong> type, a <strong>concrete slab</strong> is a versatile and durable option that can be customized to your <strong>garden shed</strong>’s size.
Assembling the Frame
Once the foundation is ready, it’s time to assemble the frame. This involves building the walls, floor, and roof structure.
– Cut the lumber according to your design plan. – Lay out the floor frame on the foundation, ensuring it’s level and centered. – Attach the floor joists using screws or nails.
The <strong>frame</strong> should be sturdy enough to support the weight of the roof and any <strong>additional materials</strong> you plan to add.
Adding the Walls and Roof
After the frame is complete, proceed to build the walls and roof.
– Install the wall panels and secure them with screws. – Add a floor using plywood or pre-made panels, ensuring it’s flat and even. – Construct the roof by attaching the rafters and roofing materials.
For the <strong>roof</strong>, consider using <strong>shingles</strong> for a traditional look or <strong>metal sheets</strong> for a more modern and weather-resistant design.
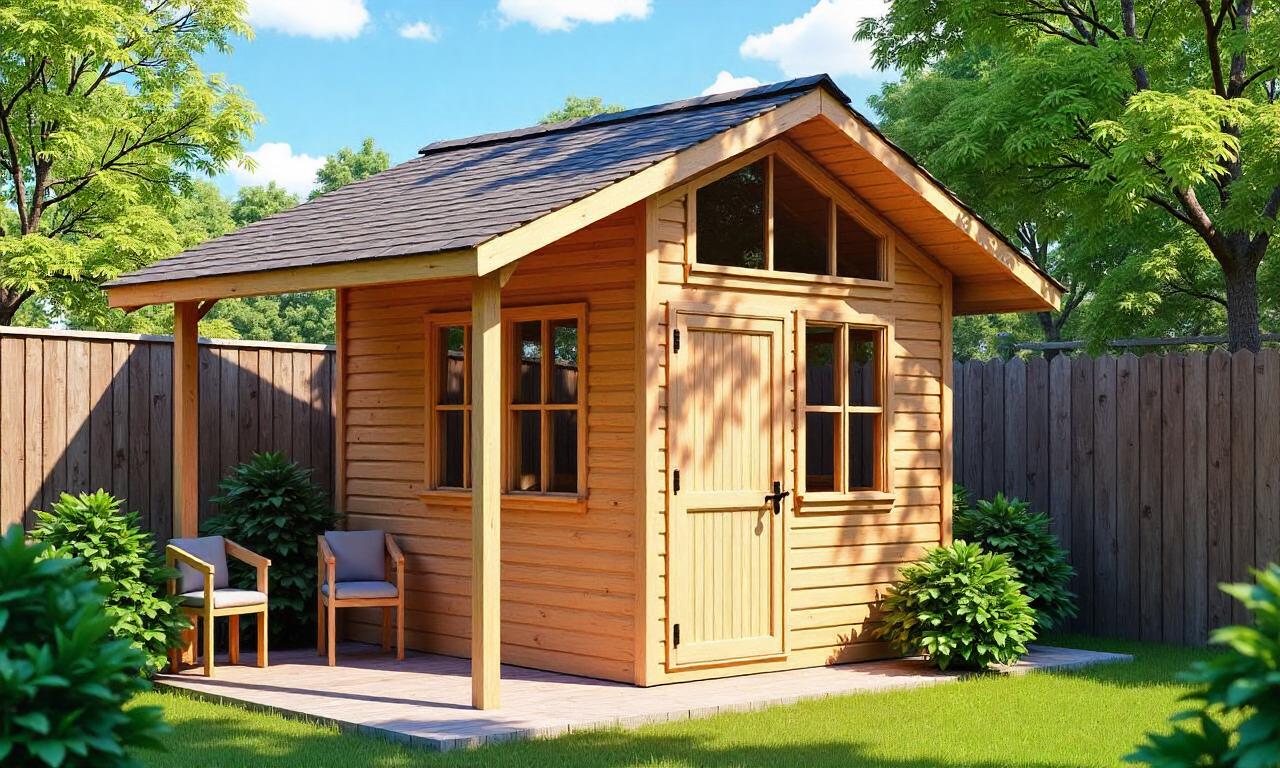
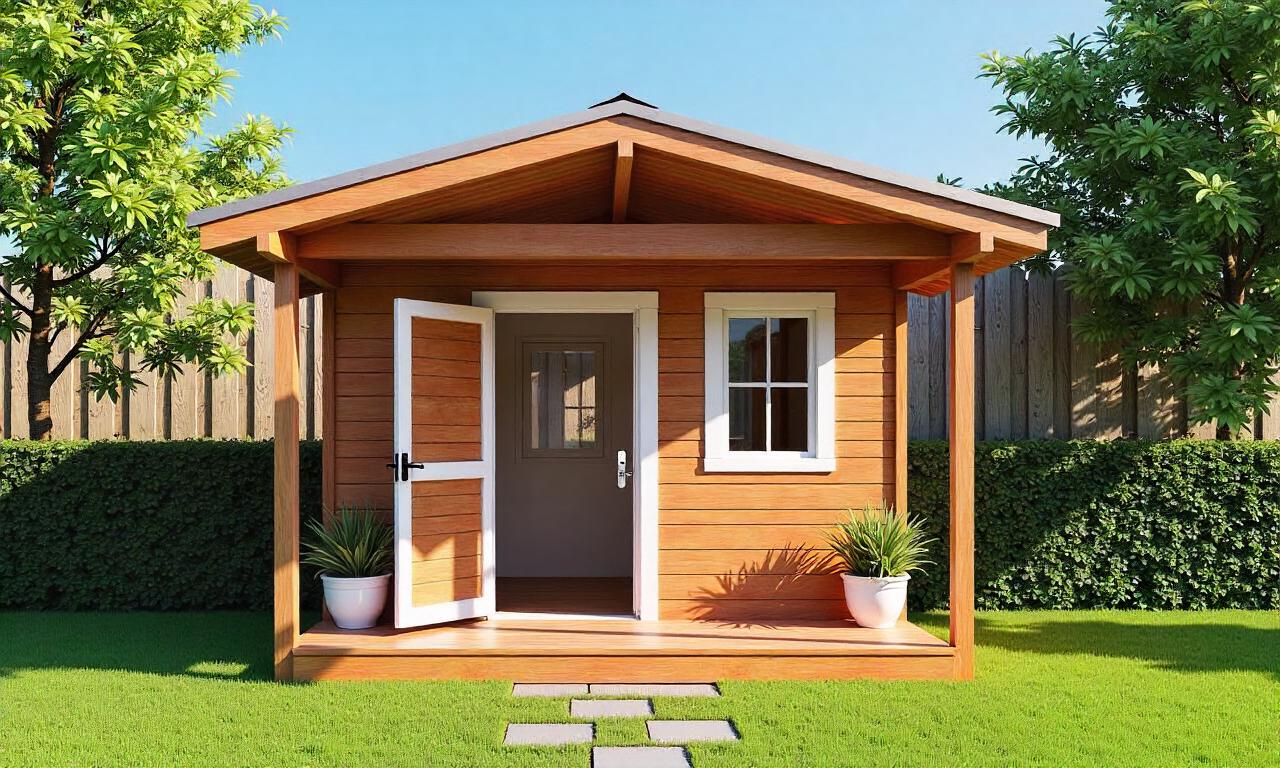
Finishing Touches and Finalizing the Project
The finishing touches are the final steps to build a garden shed from scratch that transform a basic structure into a functional and attractive space. This phase includes adding windows, doors, and insulation to enhance comfort and usability.
Installing Doors and Windows
Doors and windows are essential for access and ventilation. Choose materials that match your design and budget.
– Select a door that fits the size of your shed and includes a hinge for easy opening. – Cut the door frame and attach it to the walls using screws. – Install windows if you want natural light and airflow.
Ensure the <strong>door</strong> and <strong>windows</strong> are properly sealed to prevent water leakage and improve energy efficiency.
Adding Insulation and Finishing Materials
Insulation and finishing materials add comfort and durability to your garden shed.
– Install insulation between the walls and floor to protect against temperature changes. – Apply a weatherproof coating such as paint or stain to the exterior and interior.
If your <strong>garden shed</strong> will be used year-round, consider adding <strong>flooring</strong> and <strong>shelves</strong> for better organization.
Final Checks and Maintenance
Before completing your garden shed, perform a few final checks to ensure everything is secure and functional.
– Test the door and windows for smooth operation. – Inspect the frame and roof for any structural issues. – Add a roof overhang to protect the walls** from rain.
Regular <strong>maintenance</strong> such as cleaning the <strong>roof</strong> and checking for <strong>wood rot</strong> will help prolong the <strong>life</strong> of your <strong>garden shed</strong>.
Conclusion
Building a garden shed from scratch is a fulfilling project that offers both practicality and creativity. By following the steps to build a garden shed from scratch, you can construct a durable and functional structure tailored to your specific needs. From planning and designing to gathering materials and assembling the frame, each step to build a garden shed from scratch plays a crucial role in the final result.
Once the <strong>foundation</strong>, <strong>walls</strong>, and <strong>roof</strong> are in place, adding <strong>doors</strong>, <strong>windows</strong>, and <strong>finishing materials</strong> completes the <strong>project</strong>. With proper <strong>planning</strong> and <strong>execution</strong>, your <strong>garden shed</strong> will be a valuable addition to your outdoor space, ready to store tools, host gatherings, or provide a peaceful retreat.
Whether you’re a seasoned DIY enthusiast or a first-time builder, this step-by-step guide ensures that you can successfully complete your garden shed. By taking the steps to build a garden shed from scratch one at a time, you’ll not only gain a functional outdoor space but also develop new skills in construction and organization.
