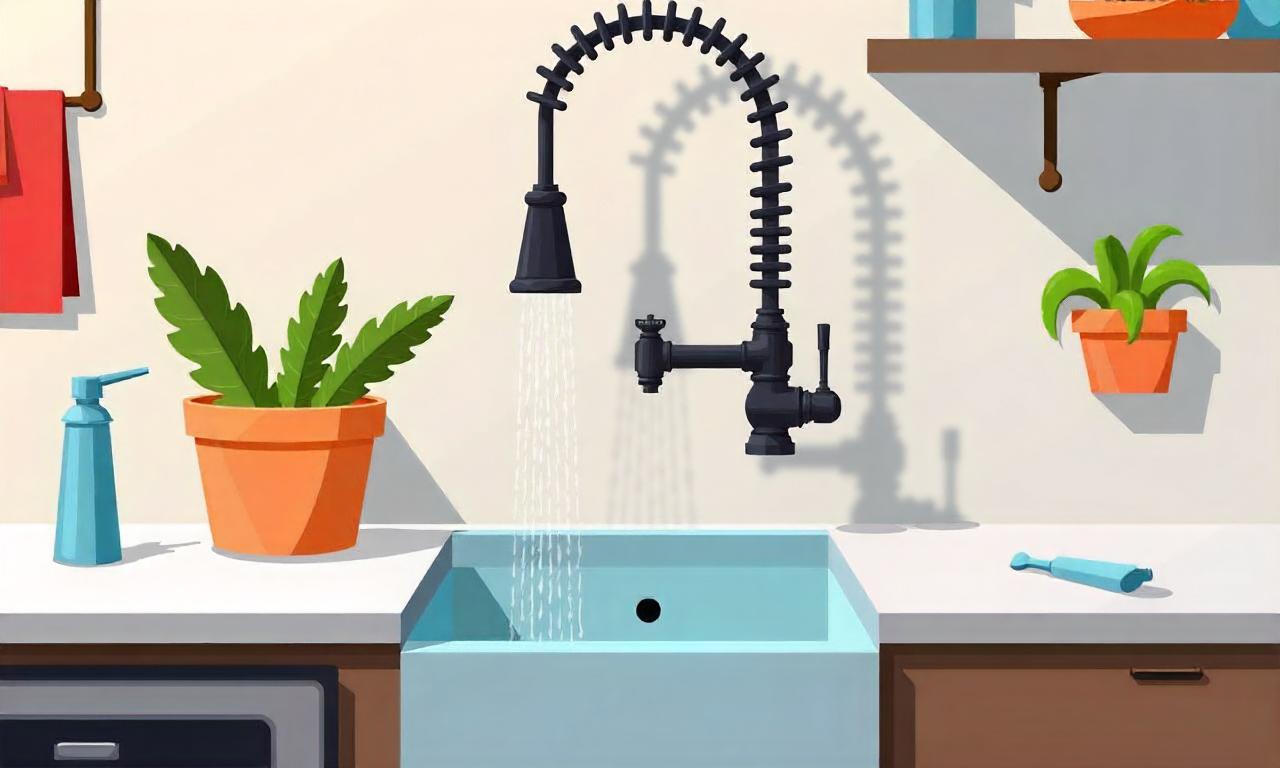
How to Fix a Leaky Kitchen Faucet: Easy DIY Steps
A leaky kitchen faucet can be more than just an annoyance—it can lead to increased water bills, wasted resources, and even water damage over time. Fortunately, most leaks can be resolved with simple how to fix a leaky faucet in the kitchen techniques that don’t require professional help. Whether the leak is coming from the spout, handle, or base of the faucet, understanding the root cause and following the right steps can save you time and money. This article provides a comprehensive how to fix a leaky faucet in the kitchen guide, covering everything from identifying the problem to implementing a permanent solution.
Understanding the Causes of a Leaky Faucet
Before diving into the how to fix a leaky faucet in the kitchen process, it’s essential to identify the cause of the leak. Most kitchen faucets are either compression, cartridge, ball, or ceramic disk types, each with different components that may wear out or become damaged over time.
Common Faucet Types and Their Issues
Compression faucets are one of the oldest types and often develop leaks due to worn-out washers or damaged seals. These washers, located inside the faucet’s valve, can degrade or crack, allowing water to escape. If you have a compression faucet, the first step is to inspect the washers and replace them if necessary. Cartridge faucets are more modern and typically have a cartridge that controls the water flow. A leaky cartridge faucet is often caused by a worn or broken cartridge. This can result in a constant drip or a slow leak from the spout. Ball faucets use a ball mechanism to regulate water flow. Over time, the ball or the O-rings around it can become damaged, leading to leaks. These faucets are common in older homes and may require more extensive repairs. Ceramic disk faucets are known for their durability and smooth operation. However, if the ceramic disks crack or the seals between them fail, water can seep through the faucet. These types are typically found in newer kitchens and are relatively easy to repair.
By recognizing the type of faucet you have, you can pinpoint the cause of the leak and choose the most effective how to fix a leaky faucet in the kitchen method.
Essential Tools and Materials for Repair
To successfully complete the how to fix a leaky faucet in the kitchen process, you’ll need the right tools and materials. Having these ready ensures a smooth and efficient repair.
What You’ll Need
Here’s a list of the tools and materials required for the repair, depending on the type of faucet:
– Adjustable wrench or basin wrench – Replacement parts (washers, O-rings, cartridges, or ceramic disks) – Plumber’s tape (Teflon tape) – Screwdrivers (flathead and Phillips) – Bucket or towel (to catch drips) – Lubricant (for O-rings or seals) – New cartridge or ceramic disk (if necessary)
For compression faucets, focus on replacing washers and seals. For cartridge faucets, you may need to remove the cartridge and inspect its condition. If you have a ball faucet, you’ll likely need to replace the ball mechanism or O-rings. Ceramic disk faucets usually require a new ceramic disk or a seal replacement.
Why the Right Tools Matter
Using the correct tools is crucial to avoid damaging the faucet during repairs. For example, a basin wrench is ideal for tightening nuts in tight spaces, while plumber’s tape helps create a watertight seal when reassembling components. Ensuring you have all the necessary materials will also prevent delays and unnecessary costs.
Step-by-Step Guide to Repairing a Leaky Faucet
Now that you’ve identified the cause of the leak and gathered the required tools, it’s time to implement the how to fix a leaky faucet in the kitchen steps. Follow this guide carefully to ensure a successful repair.
Turn Off the Water Supply
Before you begin, turn off the water supply to the faucet. This prevents water from flowing during the repair and reduces the risk of slipping or damaging the components.

To do this, locate the shut-off valves under the sink. If you can’t find them, turn off the main water supply to your home. Once the water is off, open the faucet to drain any remaining water. This step is critical for safety and effectiveness.
Disassemble the Faucet
Now, disassemble the faucet to access the problematic parts. Begin by removing the handle. Most handles are attached with a screw, which is usually hidden under a decorative cap. Use a flathead screwdriver to pry off the cap, then unscrew the handle using a wrench or screwdriver.
Once the handle is off, you’ll see the valve stem. For compression faucets, this is where the washer is located. For cartridge faucets, you’ll need to remove the cartridge by pulling it out or using a cartridge removal tool. Ball faucets require removing the ball mechanism, while ceramic disk faucets need the cover removed to access the disks.
Inspect and Replace Faulty Components
After disassembling the faucet, inspect the components for wear or damage. Look for cracks, grooves, or discoloration on the washers, O-rings, or cartridges. If the washer is worn out, replace it with a new one of the same size. For cartridge faucets, if the cartridge is damaged, it should be replaced entirely.
For ball faucets, check the ball mechanism and O-rings. If the ball is cracked or the O-rings are dry, replace them. Ceramic disk faucets often have a seal that can wear out over time. If the disks are damaged, replace them with new ones. Make sure to clean any old parts before installing new ones to avoid debris buildup.
Reassemble the Faucet
Once the faulty components are replaced, reassemble the faucet carefully. Start by putting the new washer or O-ring in place, then reattach the handle. If you used plumber’s tape, apply it to the threads of the valve stem before reassembling to ensure a watertight seal.
After reassembling, turn the water supply back on and test the faucet. If the leak persists, check for any mistakes in the installation or if additional parts need replacing. It’s important to ensure everything is tightened properly and aligned correctly.
Preventing Future Leaks and Maintaining Your Faucet
Even after successfully completing the how to fix a leaky faucet in the kitchen process, preventing future leaks requires regular maintenance and proper care.
Regular Maintenance Tips
Regular maintenance can extend the lifespan of your faucet and reduce the likelihood of leaks. Here are some simple tips to keep your faucet in optimal condition:
– Check for wear and tear periodically. Inspect washers, O-rings, and cartridges for signs of damage or aging. – Lubricate moving parts with a silicone-based lubricant to prevent sticking or corrosion. – Avoid over-tightening the handle or nuts, as this can damage the components. – Clean the faucet regularly to remove mineral buildup or debris that may cause leaks.
By incorporating these maintenance practices into your routine, you can ensure your kitchen faucet remains functional for years.
When to Call a Professional
While many leaks can be fixed with the how to fix a leaky faucet in the kitchen DIY steps, there are instances when professional help is necessary. If the leak persists after replacing parts, or if the faucet has complex components that are difficult to access, it’s best to consult a plumber. This is especially true for ceramic disk faucets, which may require specialized tools for repair.
Conclusion
Fixing a leaky kitchen faucet is a manageable task that can be accomplished with the right knowledge and tools. Whether you’re dealing with a worn washer, damaged O-rings, or faulty cartridge, the how to fix a leaky faucet in the kitchen steps outlined in this article provide a clear path to resolution. By understanding the cause of the leak, gathering the necessary tools and materials, and following the repair process carefully, you can save time, money, and water. Additionally, regular maintenance and preventive measures ensure that your faucet remains leak-free for longer. With a little patience and effort, you’ll have a functional and efficient kitchen faucet in no time.
