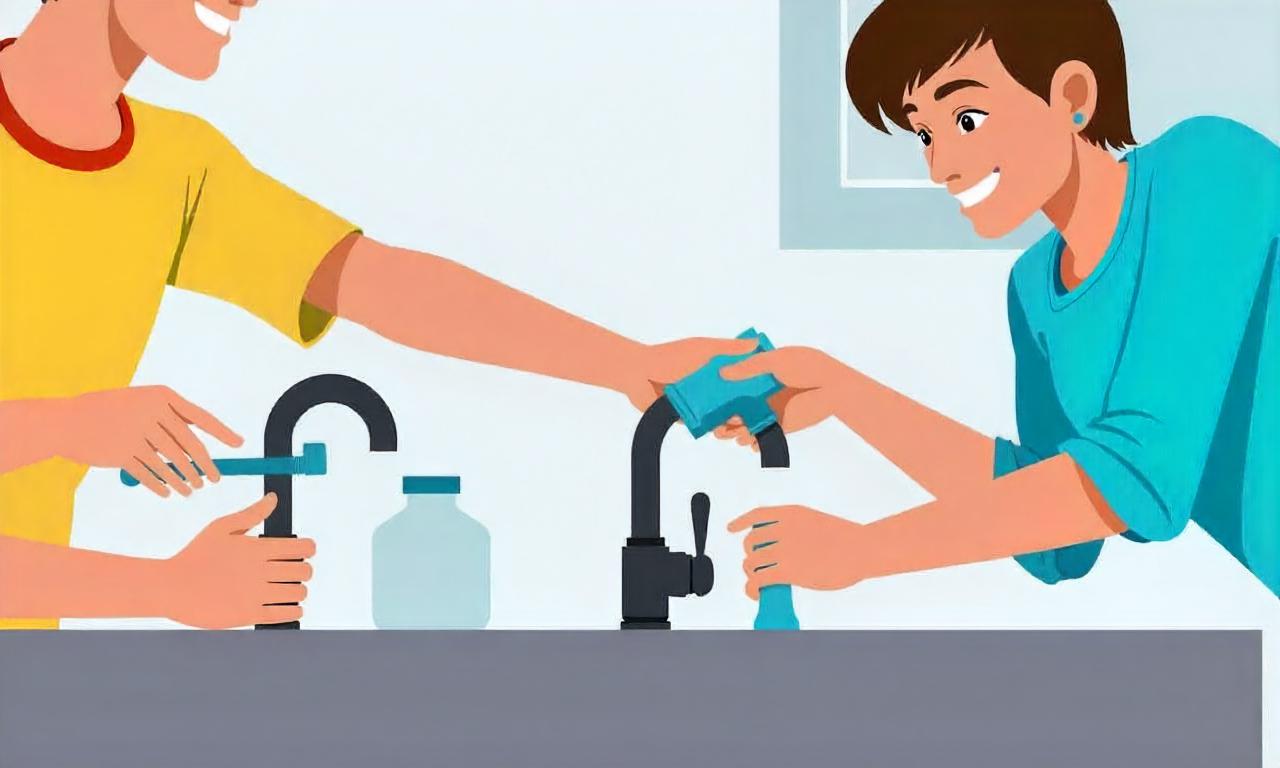
How to Fix a Leaky Kitchen Faucet: Step-by-Step Guide

A leaky kitchen faucet is not just an annoyance—it can lead to water wastage, increased utility bills, and even damage to your kitchen countertops or cabinets over time. Fortunately, many common causes of leaks can be addressed with basic tools and a bit of know-how. Whether you’re dealing with a dripping aerator, a worn-out washer, or a faulty valve, this guide will walk you through how to fix a leaky faucet in the kitchen in a clear, organized, and actionable way. By following these steps, you can save money, reduce water waste, and maintain a functional kitchen without the need for professional help.
Identifying the Source of the Leak
Before diving into repairs, it’s essential to identify the source of the leak to determine the correct solution. A leaky faucet can stem from various components, including the aerator, washer, valve, or connection points. Let’s break down the most common causes and how to spot them.
Common Leak Causes
The aerator is a small mesh screen at the faucet spout that can become clogged or damaged, leading to a steady drip. To check, remove the aerator and inspect it for mineral buildup or cracks. If it’s the culprit, cleaning or replacing the aerator should resolve the issue.
Another frequent cause is the washer inside the faucet cartridge. Over time, washers can wear out, crack, or become misaligned, causing water to escape. Look for a spongy or worn-out washer when disassembling the faucet.
For ball-type or cartridge faucets, the problem may lie in the internal valve mechanism. If the valve is damaged or stuck, it can create a persistent leak.
How to Determine the Leak Location
To identify the source of the leak, start by visually inspecting the faucet for any signs of water dripping. If the leak is at the spout, the aerator is likely the issue. If water is coming from the base of the faucet or around the stem, it could be a faulty washer or damaged valve. Additionally, check the connections between the faucet and the water supply lines for looseness or corrosion.
Gathering the Right Tools and Materials
Once you’ve located the source of the leak, the next step is to gather the right tools and materials. Having the correct items on hand ensures a smooth and efficient repair process.
Essential Tools for the Job
Here’s a list of tools you’ll need: – Adjustable wrench – Screwdriver (flathead and Phillips) – Replacement parts (washer, cartridge, aerator, or O-ring) – Plumber’s tape (Teflon tape) – Towel or rag – Bucket or container to catch water
Depending on the faucet type, you may need additional tools. For example, cartridge faucets often require a specific wrench or pliers to remove the cartridge, while ball-type faucets may need a screwdriver to access the valve.
Materials to Replace or Repair
If the aerator is damaged, you’ll need a replacement aerator. For a faulty washer, ensure you get the correct size and type (rubber, neoprene, or silicone). Valve mechanisms may require a new cartridge or O-ring, which can be purchased at a local hardware store or online. Always check the model number of your faucet to find the exact replacement parts.
Step-by-Step Guide to Repairing the Faucet
Now that you’ve identified the leak and gathered the necessary tools, it’s time to fix the leaky faucet in the kitchen. Follow these steps carefully to ensure a successful repair.
Turning Off the Water Supply
The first step in any faucet repair is to turn off the water supply. Locate the shut-off valves under the sink and turn them clockwise to close the flow. If you can’t find the valves, turn off the main water supply to the house. Once the water is off, open the faucet to drain any remaining water and prepare for disassembly.
Disassembling the Faucet
Disassembling the faucet depends on its type. For compression faucets, start by removing the handle screw, which is usually located under the sink deck plate or behind the handle. For cartridge faucets, use a screwdriver to remove the handle and expose the cartridge. Once the handle is off, you’ll see the stem or valve.
If the leak is coming from the aerator, unscrew it using a wrench or pliers. For ball-type faucets, remove the handle and lift the cover to access the valve mechanism. Take note of the parts as you remove them to ensure proper reassembly later.
Replacing Faulty Components
Once the faucet is disassembled, inspect the components for damage. If the washer is worn out, replace it with a new one that matches the size and type. For a damaged aerator, clean it thoroughly with a soft brush or replace it entirely. If the valve mechanism is faulty, remove the old cartridge and install a new one, ensuring it’s aligned correctly before reattaching the handle.
When replacing parts, use plumber’s tape on the threads to create a watertight seal. This is especially important for connection points to prevent future leaks.
Reassembling the Faucet
After replacing the faulty component, reassemble the faucet carefully. Align the parts as you put them back in place, ensuring the stem or cartridge is secure. For compression faucets, tighten the handle screw and test the faucet by turning it on. If the leak persists, double-check the washer or valve for proper installation.
Preventative Maintenance Tips
Even after fixing a leaky faucet in the kitchen, it’s wise to implement preventative maintenance to avoid future issues. Regular care can extend the life of your faucet and reduce the need for frequent repairs.
Checking for Wear and Tear
Periodically inspect the washer, aerator, and valve for signs of wear. If you notice any cracks, deformations, or mineral buildup, replace them promptly. For cartridge faucets, check the O-rings and seals to ensure they’re intact.
Cleaning the Faucet Regularly
Mineral deposits from hard water can clog the aerator and cause leaks. Clean the aerator every few months by unscrewing it and soaking it in vinegar or a descaling solution. For the faucet body, wipe it down with a damp cloth to remove dirt and grime.
Avoiding Over-Tightening
When reassembling the faucet, avoid over-tightening the parts. Excessive force can damage seals or threads, leading to new leaks. Use moderate pressure and ensure all components are properly aligned before securing them.
Monitoring Water Pressure
High water pressure can strain the valve mechanism and cause leaks. If you suspect pressure is the issue, install a pressure-reducing valve or consult a plumber to adjust the pressure. Regularly monitoring water pressure helps prevent long-term damage to your kitchen faucet.
Conclusion
Fixing a leaky faucet in the kitchen is a manageable task with the right tools and knowledge. By identifying the source of the leak, gathering the necessary materials, and following a step-by-step repair process, you can resolve the issue efficiently. Additionally, preventative maintenance ensures your faucet remains leak-free for years to come. Whether you’re dealing with a damaged aerator, worn-out washer, or faulty valve, this guide provides the clarity you need to tackle the problem head-on. With a little time and effort, you’ll not only save money but also contribute to a more sustainable home.
Remember, if the leak persists after your repairs, it may be time to call a professional plumber for further assistance. But for most kitchen faucets, a DIY approach using this guide can lead to a successful fix.
