How to Fix a Leaky Kitchen Faucet: Step-by-Step Guide
A leaky kitchen faucet can be more than an annoyance—it’s a common household issue that not only wastes water but also increases utility bills and creates a mess. If you’re searching for how to fix a leaky faucet in the kitchen, you’ve come to the right place. This article provides a comprehensive, step-by-step guide to identify the root cause of the leak and resolve it effectively. Whether the problem stems from worn washers, damaged seals, or faulty internal components, you’ll gain the knowledge to address it without needing professional help. By following these practical tips, you can save time, money, and effort while ensuring your kitchen remains functional and efficient.
Understanding the Causes of a Leaky Faucet
Before diving into the repair process, it’s essential to recognize the most common causes of a leaky kitchen faucet. The leaky faucet often results from a worn or damaged washer, which is a small rubber component that seals the valve when the faucet is turned off. Over time, these washers can degrade due to constant use, mineral buildup, or improper installation. Another frequent culprit is the O-ring, a flexible rubber seal that prevents water from escaping around the faucet handle. If the O-ring cracks or wears out, water may seep out during operation. Additionally, damaged cartridges, faulty valve seats, or loose connections can lead to leaks. Identifying the exact cause is crucial, as the repair method will vary depending on the type of faucet.
Tools and Materials You'll Need
To fix a leaky faucet in the kitchen, you’ll need a few basic tools and replacement parts. Start with an adjustable wrench, screwdrivers (both flathead and Phillips), and a pair of pliers. These tools will help you disassemble and reassemble the faucet components. A bucket or towel is also useful for catching water while you work. Depending on the faucet type, you may need specific replacement parts such as washers, O-rings, cartridges, or valve seats. It’s a good idea to check the manufacturer’s guidelines or take a photo of the faucet before disassembling to ensure you know which parts to replace. If you’re unsure about the type of faucet, refer to the section below for detailed instructions.
Step-by-Step Guide to Fixing a Leaky Kitchen Faucet
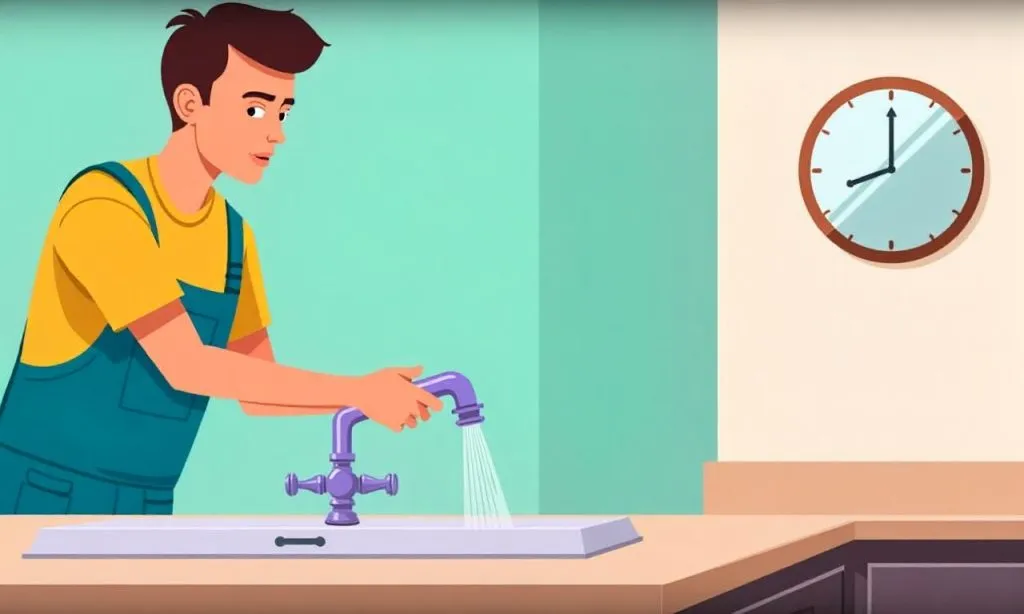
The process of fixing a leaky faucet begins by turning off the water supply. Locate the shut-off valves under the sink and close them to prevent water from flowing while you work. Next, disassemble the faucet by removing the handle and any visible screws. Use a screwdriver to take off the handle, then carefully pull out the cartridge or valve assembly. Inspect the components for wear, cracks, or mineral deposits. If the washer or O-ring is damaged, replace it with an identical part. For cartridge faucets, ensure the new cartridge is properly aligned and securely installed. Once the repairs are complete, reassemble the faucet and turn the water back on. Check for leaks by opening the faucet fully and observing for any drips or puddles. This straightforward method can often eliminate the leaky faucet issue in just a few minutes.
How to Fix a Leaky Faucet Based on Its Type
Different types of kitchen faucets require specific repair techniques. For cartridge faucets, the problem is often a faulty cartridge or worn O-ring. Remove the handle, access the cartridge, and replace it if it’s damaged. For ball faucets, you’ll need to adjust the valve seat or replace the ball mechanism. These faucets typically have a single handle that moves a ball to control water flow. If the ball is worn or the seat is damaged, replacing it can stop the leak. Ceramic disk faucets are common in modern kitchens and may require replacing the ceramic disks or the spout washer. These faucets use a single handle to move two ceramic disks, and any damage to them can cause leaks. Compression faucets often leak due to worn washers or stem nuts. Tightening the nuts or replacing the washers should resolve the issue. By understanding your faucet type, you can apply the correct solution efficiently.
Preventive Maintenance Tips
Regular maintenance can help prevent leaks and extend the lifespan of your kitchen faucet. Clean the faucet regularly to remove mineral deposits and debris that may interfere with the seals. Check the O-rings and washers every few months and replace them if they appear dry or cracked. Lubricating the moving parts with a small amount of plumber’s grease can also reduce friction and prevent leaks. Avoid over-tightening the handle, as this can damage the internal components. Additionally, using a water filter can minimize the buildup of minerals in your pipes, which often contribute to leaks. These simple practices can save you from the hassle of how to fix a leaky faucet in the kitchen multiple times.
Final Steps and Troubleshooting
Once you’ve completed the repair, it’s important to test the faucet thoroughly. Turn on the water and let it run for a few minutes to ensure there are no drips or leaks. If the leaky faucet persists, double-check that all parts are installed correctly and that the water supply is fully turned off. If you’re still experiencing issues, it may be necessary to replace the entire faucet or consult a professional plumber. Keep in mind that some faucets have multiple components, so it’s possible to miss a part during the repair. Always take your time and follow the steps carefully. If you’re unsure, referring to the manufacturer’s instructions or watching a video tutorial can provide additional guidance.

Conclusion
Fixing a leaky faucet in the kitchen is a manageable task that can save you time and money. By understanding the common causes and following a step-by-step guide tailored to your faucet type, you can resolve the issue effectively. Whether it’s a simple washer replacement or a more complex cartridge repair, the key is to approach the problem methodically. Regular maintenance and attention to the faucet’s condition can prevent future leaks and ensure its long-term functionality. With the right tools and patience, you’ll be able to maintain a leak-free kitchen without professional assistance.
FAQ Q: How long does it take to fix a leaky faucet in the kitchen? A: Most repairs take between 30 minutes to an hour, depending on the faucet type and your familiarity with the tools.
Q: Can I fix a leaky faucet without replacing parts? A: In some cases, you can fix the leaky faucet by cleaning the existing parts or adjusting the handle. However, if the internal components are damaged, replacement is usually necessary.
Q: What if the leaky faucet continues after following the steps? A: If the leak persists, check for any missed parts or improper installation. If the problem remains, it may indicate a more serious issue requiring professional help.
Q: Are there any safety precautions I should take? A: Turn off the water supply before starting the repair to avoid water damage. Use a towel or bucket to catch any dripping water and ensure you have proper lighting while working.
Q: How often should I check my kitchen faucet for leaks? A: Inspect your faucet monthly for signs of wear or leaks, especially if you live in an area with hard water. Regular checks can help you address issues before they worsen.
