Steps to Build a Garden Shed From Scratch Guide
Building your own shed is one of the most practical upgrades you can make to a backyard. A well-constructed shed provides secure storage, workspace, and long-term value to your property. Understanding the steps to build a garden shed from scratch ensures the structure is durable, safe, and compliant with local standards.
This guide explains the full process from planning to finishing. Each phase is broken down into clear, actionable components so you can move from raw ground to a completed structure without confusion.
Planning, Permits, and Design Preparation
The first of the essential steps to build a garden shed from scratch is planning. Determine the shed’s purpose: storage, workshop, gardening station, or multi-use space. The intended use affects size, foundation type, ventilation, and door configuration.
Check local building codes and zoning regulations. Many municipalities require permits for sheds over a certain size or height. Ignoring this can lead to fines or forced removal.
Next, select the shed’s dimensions and draft a simple layout. A common beginner-friendly size is 8×10 feet, which balances storage capacity and construction simplicity. Plan for door width, window placement, and roof style.
Choose a shed style that matches your skill level. A gable roof shed is straightforward and popular. Lean-to sheds are simpler but offer less overhead space.
Prepare a materials list. Typical materials include pressure-treated lumber for the base, framing lumber, plywood or OSB sheathing, roofing material, fasteners, and exterior siding.
Site Selection and Foundation Construction
Selecting the right location is critical. Choose level ground with good drainage. Avoid low spots where water collects, as moisture shortens the lifespan of wood structures.
Clear vegetation and remove topsoil to create a stable base. Mark the shed footprint using stakes and string lines. Confirm measurements by checking diagonals to ensure the layout is square.
There are several foundation options:
* Concrete slab (most durable, higher cost) * Concrete blocks or piers * Gravel base with pressure-treated skids
For beginners, a gravel base with pressure-treated skids is cost-effective and stable. Excavate 4–6 inches, add landscape fabric, and fill with compacted gravel. Level the surface carefully before placing skids.
Install floor joists on top of the skids. Space joists typically 16 inches on center. Secure with galvanized screws or framing nails. Attach plywood flooring to complete the shed base.
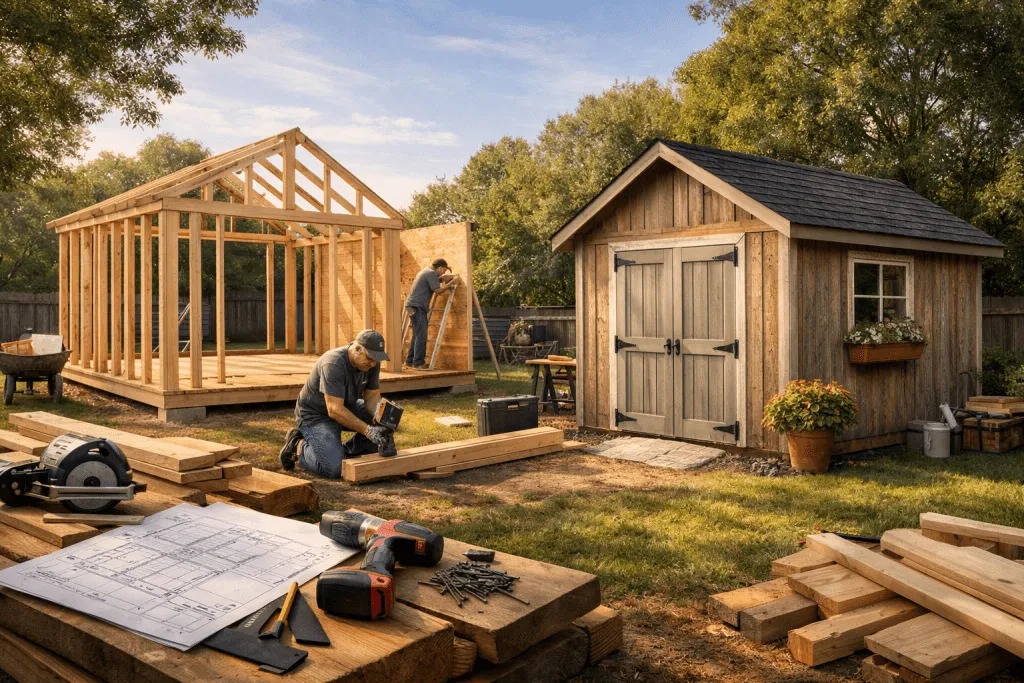
Framing the Walls and Installing the Structure
Wall framing is one of the most visible steps to build a garden shed from scratch. Build each wall frame flat on the floor platform. Standard wall studs are spaced 16 inches on center.
Construct the front wall with a framed opening for the door. Add a header above the door opening to support structural load. If installing windows, frame those openings during this stage.
Raise walls one at a time and secure them temporarily with braces. Use a level to confirm vertical alignment before fastening permanently to the floor frame. Attach walls together at the corners using structural screws.
Once all walls are upright and square, install top plates to tie the structure together. This increases rigidity and prepares the frame for roof installation.
Sheath the exterior walls with plywood or OSB panels. Sheathing strengthens the structure and provides a base for siding. Secure panels tightly and align edges with studs.
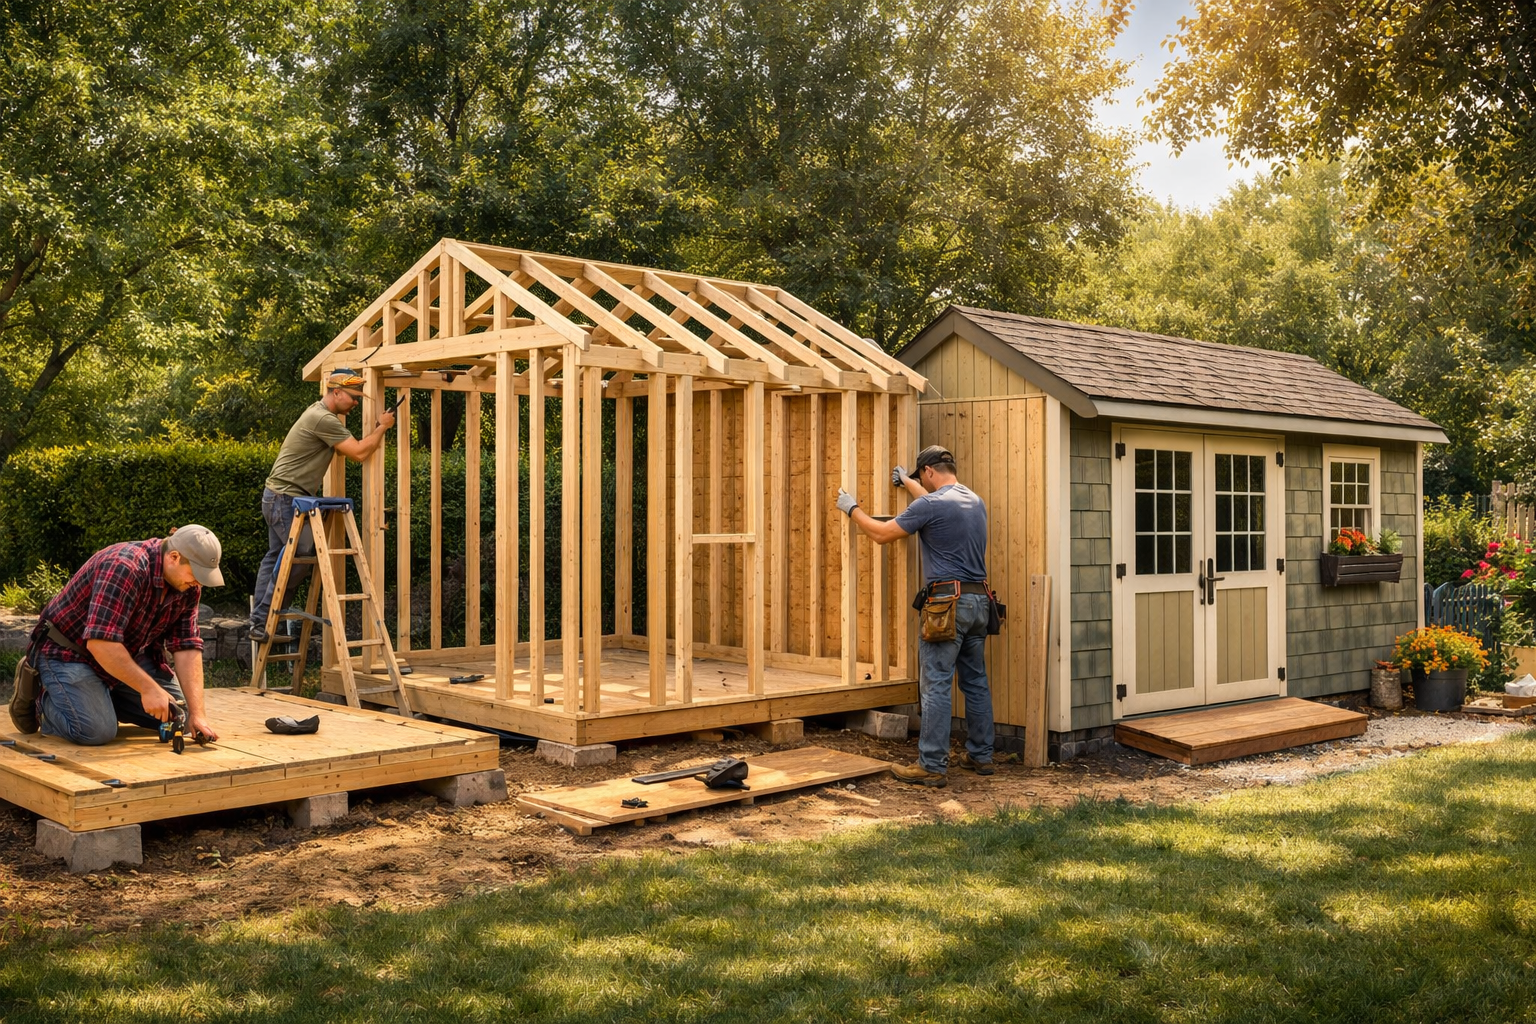
Building and Installing the Roof System
The roof protects the shed from weather exposure. A gable roof design uses pre-cut rafters joined at a ridge board. Calculate the roof pitch before cutting rafters to ensure symmetry.
Install the ridge board at the correct height. Attach rafters on both sides, spacing them evenly. Secure connections with hurricane ties or metal brackets for additional stability.
Once the rafter system is complete, install roof sheathing panels. Use exterior-grade plywood or OSB. Leave small gaps between panels for expansion.
Apply roofing underlayment to protect against moisture. Then install your chosen roofing material, such as asphalt shingles or metal panels. Asphalt shingles are affordable and widely used for small sheds.
Add fascia boards and drip edges to direct water away from the structure. Proper roofing installation significantly increases durability and reduces maintenance costs.
Installing Doors, Siding, and Exterior Finishes
With the structure complete, move to enclosure and finishing. Install the door using heavy-duty hinges. Ensure the frame is square before securing permanently.
Choose siding based on budget and climate. Options include:
* T1-11 plywood siding * Vinyl siding * Engineered wood panels * Fiber cement boards
Seal all seams and joints using exterior-grade caulk. Apply primer and paint or stain for weather protection. Paint not only improves appearance but extends lifespan.
Install trim boards around windows, doors, and corners. Trim enhances structural sealing and creates a finished look.
Consider adding gutters if the shed is near landscaping or foundations that could be damaged by runoff.
Interior Setup and Long-Term Maintenance
Interior work is often overlooked in discussions about the steps to build a garden shed from scratch, but it directly affects usability. Seal the floor with exterior-grade paint or wood sealant to prevent moisture absorption.
Install shelving, tool racks, and pegboards to maximize vertical space. Secure heavy storage to wall studs for safety.
Ventilation is essential. Install small vents near the roofline to reduce condensation. Poor airflow leads to mold growth and wood deterioration.
Perform routine maintenance annually. Inspect roofing, repaint exposed surfaces as needed, and check for insect damage. Early repairs prevent costly structural issues.
If electricity is required, consult a licensed electrician. Proper wiring must comply with local codes and safety standards.
Conclusion
Understanding the steps to build a garden shed from scratch allows you to construct a durable, functional structure without unnecessary mistakes. From planning and foundation work to framing, roofing, and finishing, each phase builds on the previous one. Careful measurement, proper materials, and attention to detail ensure long-term performance and structural stability.
FAQ
Q: How long does it take to build a garden shed from scratch? A: For beginners, a basic shed typically takes one to two weekends, depending on size and preparation.
Q: What is the most affordable foundation option for a shed? A: A compacted gravel base with pressure-treated skids is usually the most cost-effective and sufficient for small sheds.
Q: Do I need a permit to build a garden shed? A: Permit requirements depend on local regulations and shed size; many areas require permits for sheds over a certain square footage.
Q: What type of wood should be used for framing? A: Standard framing lumber such as SPF (spruce, pine, fir) is commonly used, with pressure-treated lumber for ground-contact areas.
Q: How can I make my garden shed last longer? A: Use proper sealing, maintain roofing integrity, ensure good drainage, and perform regular inspections to prevent moisture and structural damage.
